Amateur Taxidermy
Learning fur-handling tips from the pros...

On May 5th of this year, I lost my job. This was an unexpected outcome that my family did not see coming and consequently we did not have as much “runway” as we would have liked entering into such an event. But, instead of licking my wounds and wallowing in self-pity, I decided to go to work learning a skill that I have long wanted to perfect… Hide Handling & Taxidermy.
In less than 24 hours from losing my day job I was walking into one of Boise’s premier taxidermist shops where the owner welcomed me (and my free labor) with open arms. With no fan fare we went straight to work on some elk, gemsbok, bear, turkey, and some moose. As with most great teachers, we focused on the basics and began to slowly build from there with a focus on how my efforts could help my upcoming fall trapline fur-handling:
Stitching
You may recall an old post of mine where my wife began to teach me to sew last year… Well, unfortunately I did not practice at all since then and my first day in the taxidermy shop made me regret it. My mentor and I spent the whole first morning repairing small holes in wet-tanned hides that would soon be going on mounts. After he (re)taught me the basics of whipstitching with a high-grade clear fishing line, he taught me how to clean up bullet wounds by cutting a nice oval shape that would cinch up better when sewn.
Custom Forms
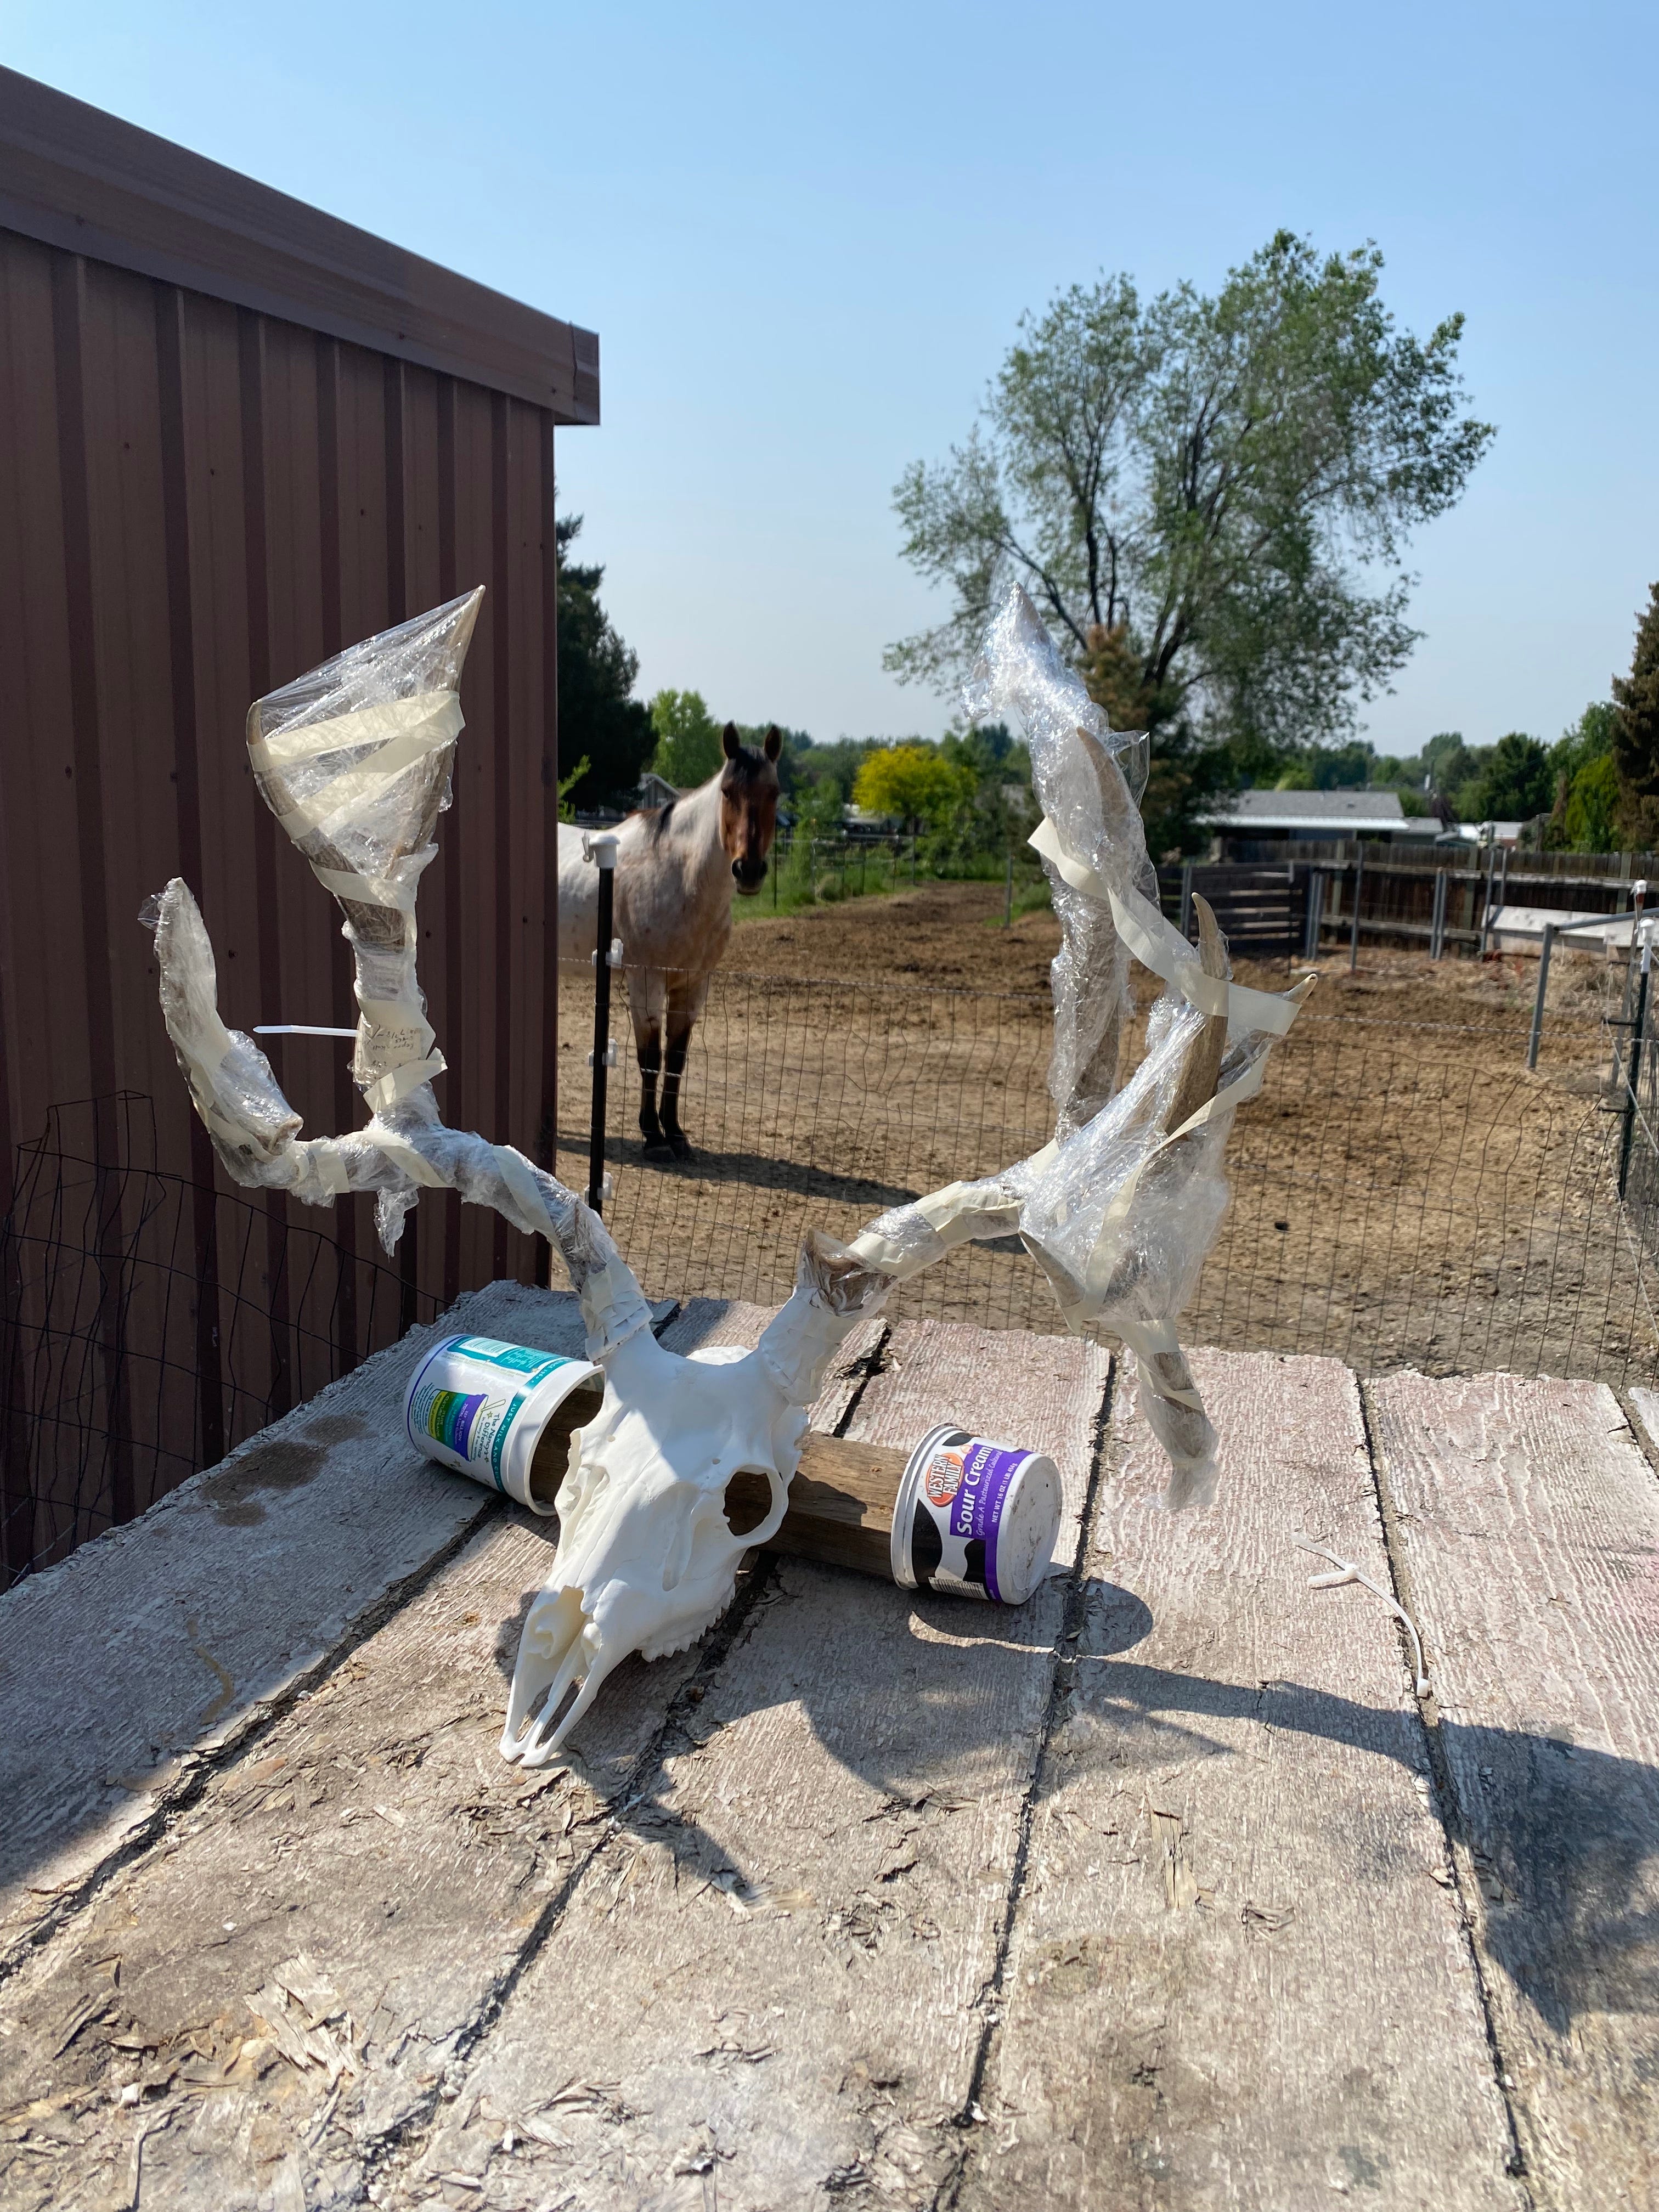
One of the most impressive things for me was to learn that taxidermy (good taxidermy anyways…) is not just about throwing tanned hides onto a foam form and calling it good. No, each of these foam forms needed extensive modification to create a life-like representation of the animal that a customer has brought in. For instance, we began to work on an African Gemsbok for a customer and my mentor threw the wet hide on the form and began pinning it into place. To me it looked amazing… the nose seemed to fit well, the skin wasn’t excessively stretched, and I’ll be damned if draping that hide over the form didn’t make it look like a real gemsbok!
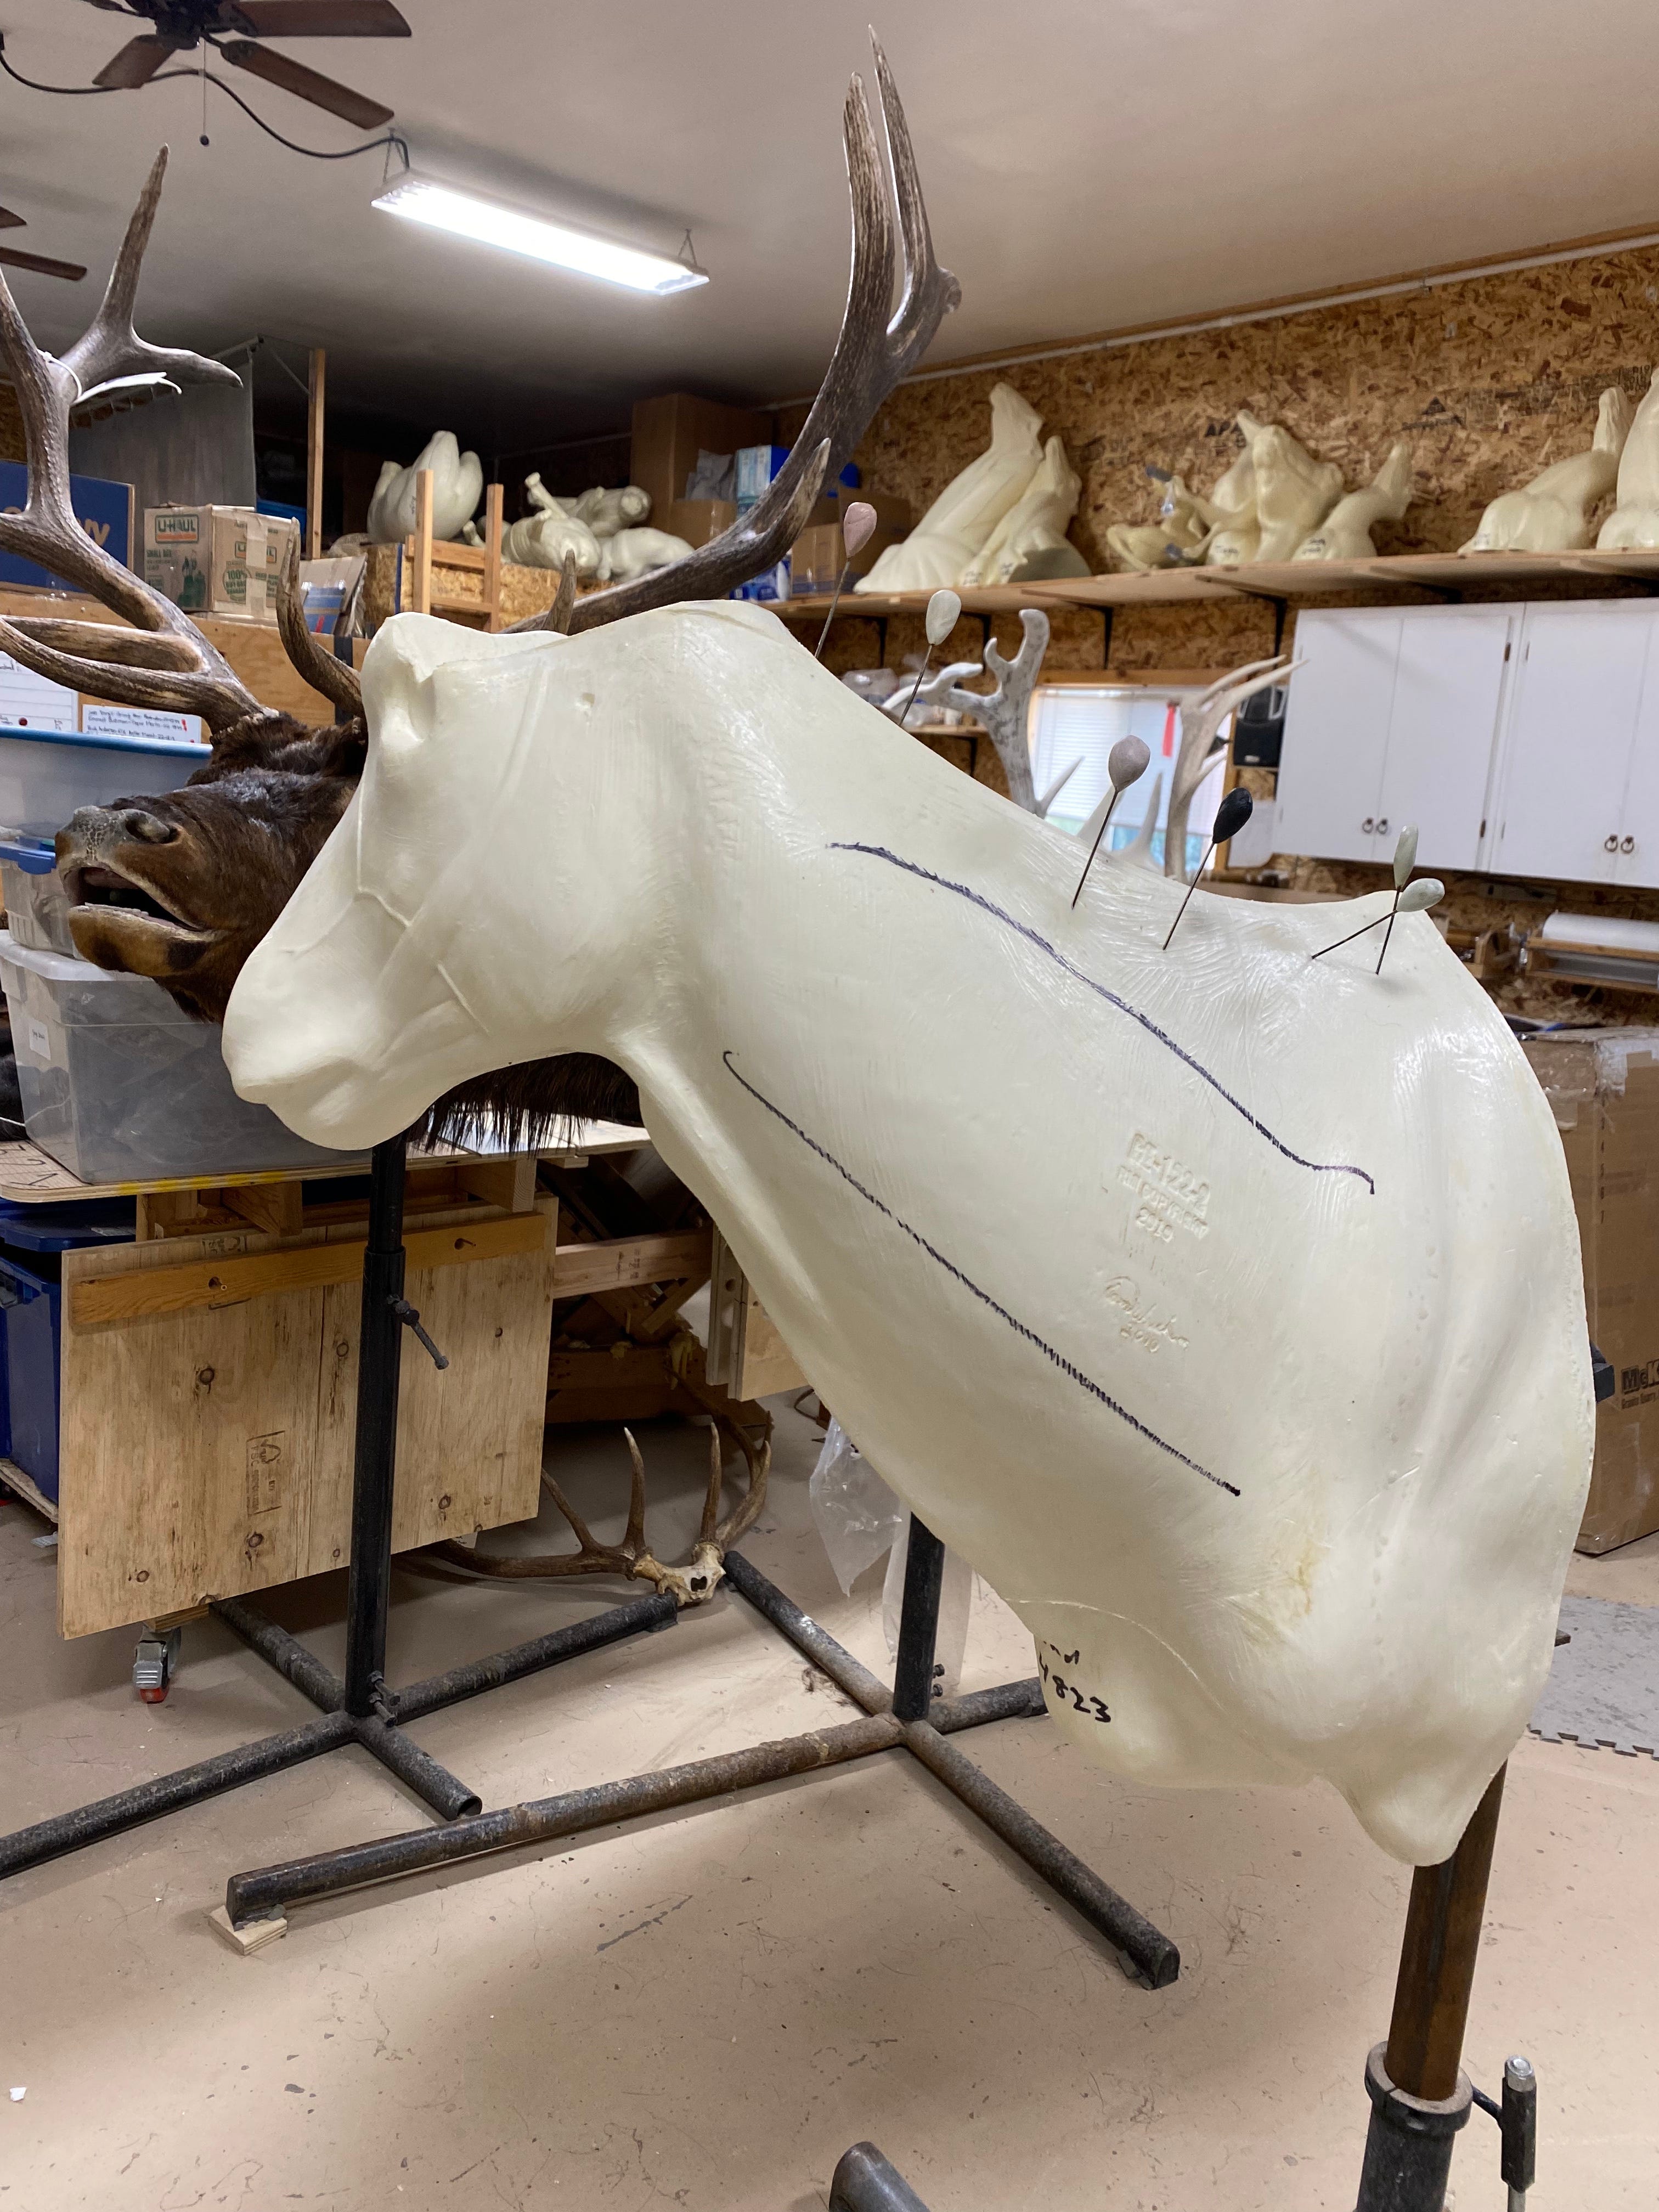
Yet, my mentor wasn’t smiling. Instead he pulled the hide off, grabbed some markers, a saw, a drill, and a few different chemicals. Soon we looked more like Walter White and Jesse as we lopped the head of this gemsbok, built some small foam spacers, and re-attached the pieces with some screws. My mentor began explaining to me that these forms are guidelines and to be great you have to go the extra mile. In this case we had two different alteration to lengthen the neck and nose of the animal. To extend it, we mixed chemicals to create foam (similar to the insta-foam spray you can buy at home depot) and poured it into our duct-tape mould.
Once poured, cured, and shaved down, we were able to refit the hide to the form to my mentor’s satisfaction. Which led us to our next problem - fitting the horns in such a way that the 90* turned mount would fit on a wall. For us, it turned out that the long horns of this gemsbok were about an inch too long and would hit the wall without more alterations. So, it was back to the saws, foam, and spacers once more until we had the form perfectly customized to fit the customer’s desires. Within a day or two of this customization we were staring at a beautiful mount that was getting finish work!
Bear Hide Work
One of the great things about being fired in May was that it was smack-dab in the middle of spring bear hunting season. This meant that I could be out in the woods more, but it also meant that while I was in this taxidermy shop I was able to learn and refine my skills at skinning bears (You can read my home bear skinning and tanning series here)!
Though I have done this a few times before, the refinement and approach to cleaning hides that I learned while in a professional shop was top-notch. First and foremost we covered de-bugging/ticking the hide. Each hide that came in got a nice spray down with a bug killer that wouldn’t effect the fur and went straight into the freezer. After a day or two we would pull them out to thaw before getting to work.
The biggest takeaways on cleaning up bear hides for me were small. My mentor worked over small fleshing beams for the majority of the work and used a beaver knife (which he sharpened regularly) to work the meat and remaining fat from the hide. He also used a chainmail glove so he could pull the hide taught without risking an accidental stabbing.
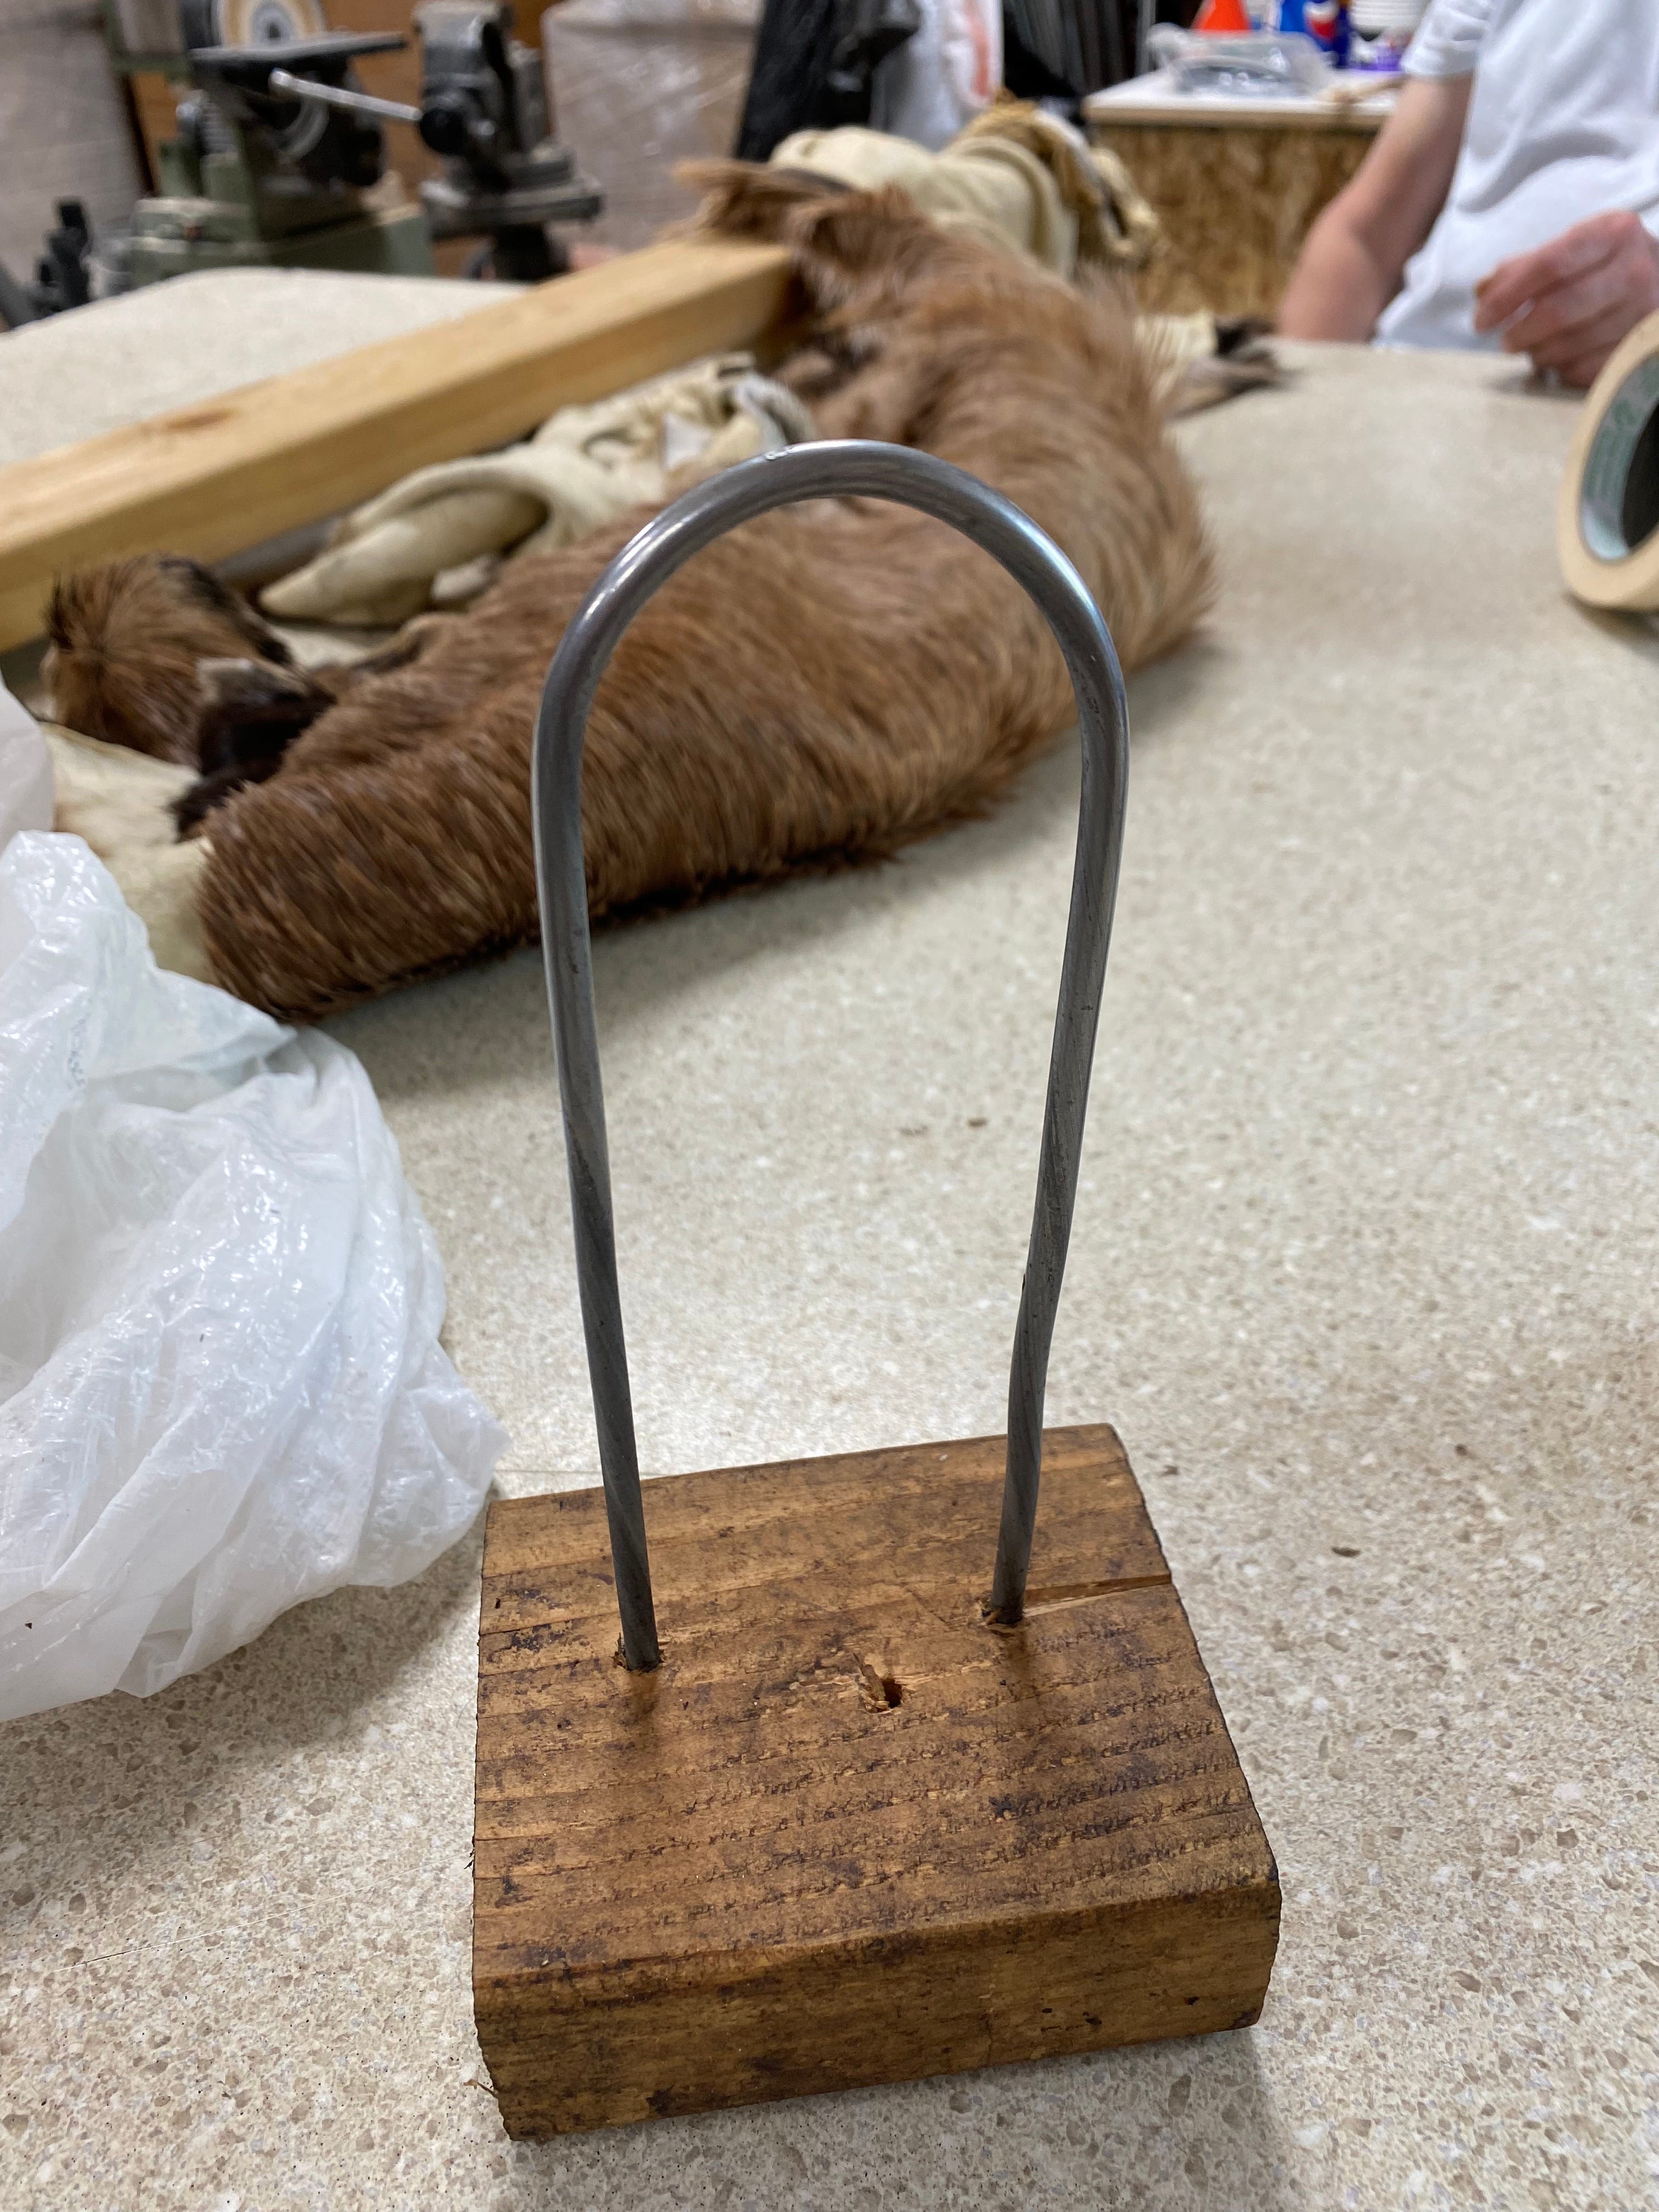
Other genius tricks were leveraged to flip ears. This is something I have always struggled with on my own critters and my mentor had a solution… a custom wire device that you could jam into the ear to start clearing cartilage without the need to use your fingers for pressure.
He was also a magician at deboning bear paws. For reference, it took me about 2 hours per paw when I deboned my own… It took my mentor 5 minutes. The education he gave me around the approach and how to easily navigate each knuckle was invaluable.
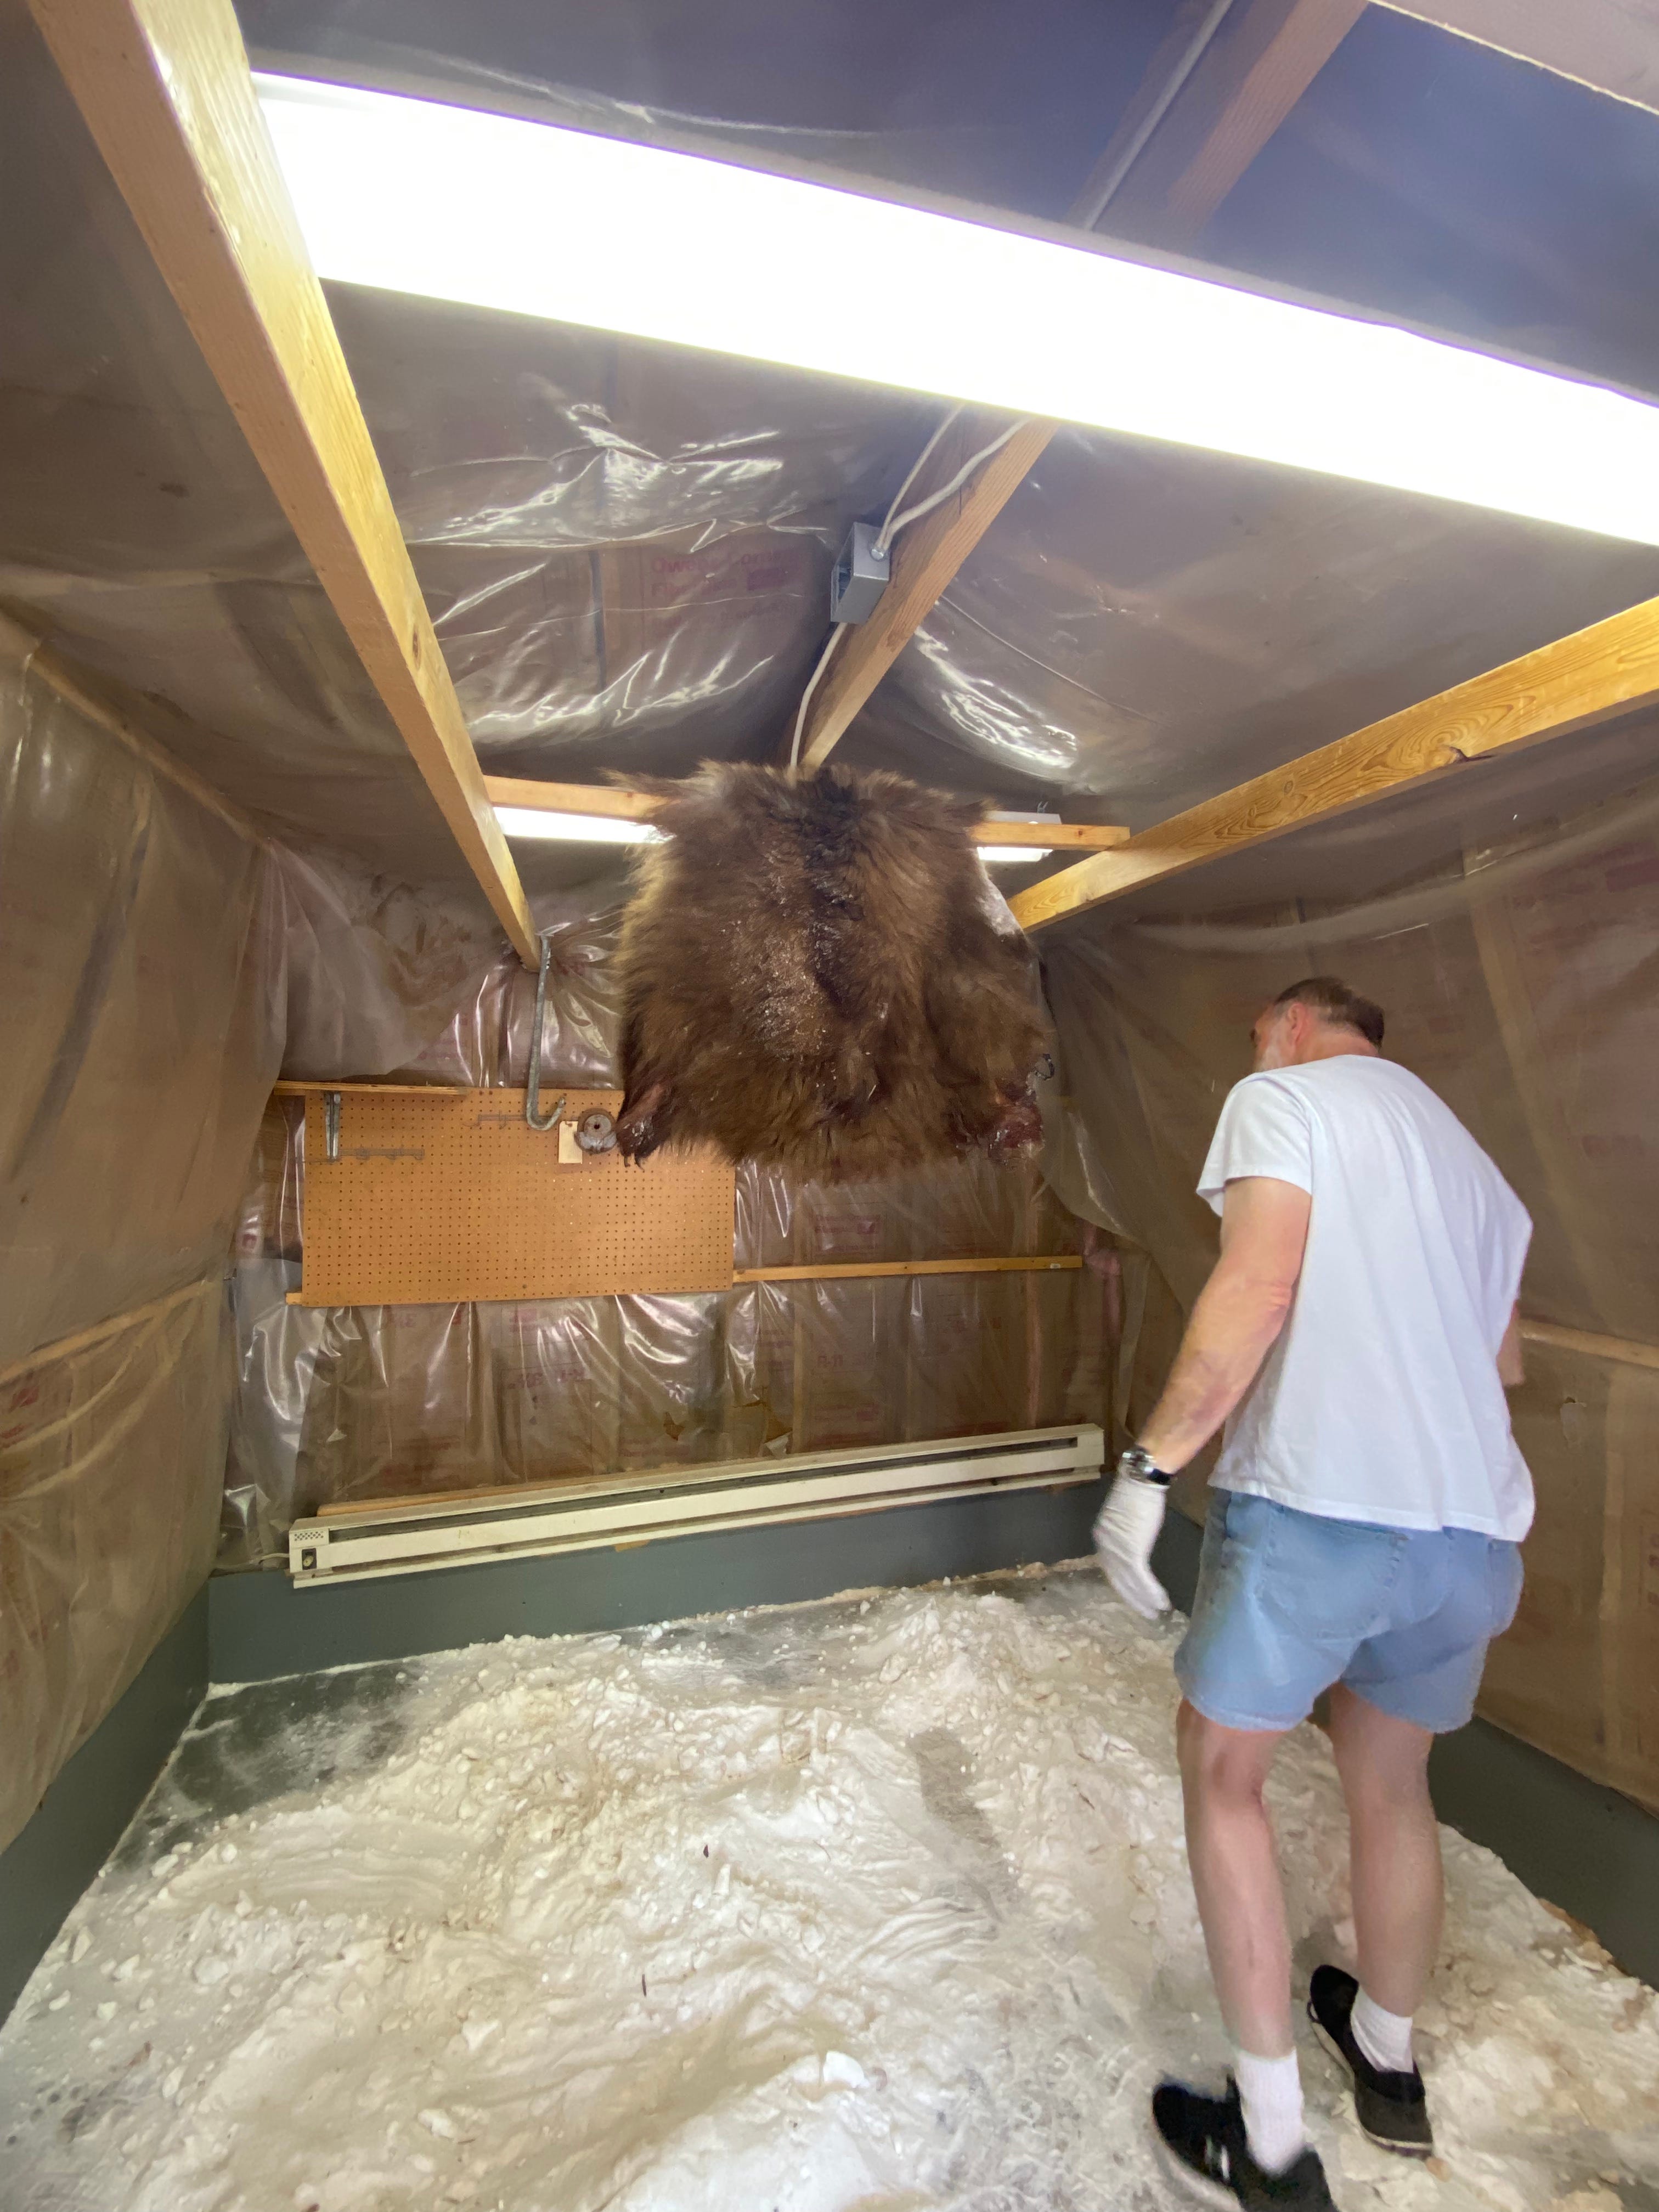
Then, once we had deboned, removed skulls, fleshed the hide, flipped ears, lips, and noses, we took them out to the salt shed. What did we do in the salt shed? Well, we buried each hide in a metric ton of salt. What’s funny is that when I salted my first hide I thought I was being liberal with the salt, but boy was I wrong. It turns out it’s nearly impossible to over salt a hide, so the best bet (especially if doing this in bulk) is to immerse these puppies fully - which is what we did. Once they sat in the salt for a few days to dry out, we would pull them to hang before packaging them up to be sent off to the tannery.
Other Work
It’s nearly impossible to cover everything that my mentor flooded me with in the short few weeks I was working with him. However, some of the things we did cover were home tanning (for my own furs), fixing up janky euro mounts and the finer points of beetles, more sewing, turkey mounts and cutting off spurs, and some of the artistic finish work. What I can say is that I am more prepared to go into this trapping season and come out the other side with better pelts, which is a massive win, but it has also fueled me with the desire to learn more about taxidermy and potentially go to a school!