
Looking at the pristine cinnamon-phase bear hide that hangs on my cabin wall gives me a lot of pride. Not because that bear was my first archery bear, but more because that was the first time I tried to tan my own large game hide, and eleven months later the hide is holding up fantastically well and has had zero hair slippage. I’m not saying the method I used is the best method, but for me it has worked well.
So, here we go — Here are the seven steps to field prepping your spring bear in anticipation of tanning it yourself:
Field Prep is Key: Getting to your bear quickly to salvage the meat and the hide is vital... and once you arrive on scene with your downed bear it’s time to get to work.
Make the First Cut Count: I always roll my bear onto its back and start with my first cut on either the left or right side of the vent (anus). I then make a long dorsal cut (being careful to not puncture the guts) up to the base of throat. To make sure you get a great cut you can make a line in the hair with your finger to get started.

Paw to Chest: Once you have your dorsal cut, then go to each paw pad and cut towards the elbow. Once your knife hits the elbow then recenter in order to hit the vent and chest cut, respectively.
Paws Bone-In: Whether you are taking your bear home to process the hide or to a taxidermist, leave the bones in the paws... you can cut through the wrist ligaments pretty easily and snap them with your hands... if you have any issues bust out a trusty bone saw to get the job done.
Work Towards the Spine: After your main opening cuts are done, slowly work your way to the spine on each side... rolling the bear as needed. Once the carcass is free from the hide, you can make the job easier by quartering out the bear, taking the back straps, and putting all of your meat into game bags.
Split the Tail: Bears have a short nubby little tail, but if you don’t split the tail you can get rot and future hair slippage. I use a tool called a tail zipper, but a quick pass with your knife right down the underside of the tail will work just fine.
Removing the Skull: This is often the most difficult part... Like the paws, you can leave the skull in if you wish, but I find it easier to remove the skull while in the field. Start at the base of the neck with a sharp knife (like a havalon) and start to roll the whole hide over the skull like a sock. Slowly start to clear away skin until you get to the ears (which will require a nice even slice) and the eyes (which will also take some finesse)... continue working down until you can cut out the lips and the thick cartilage of the nose, and VOILA... you now have a bear hide that is almost ready to process.
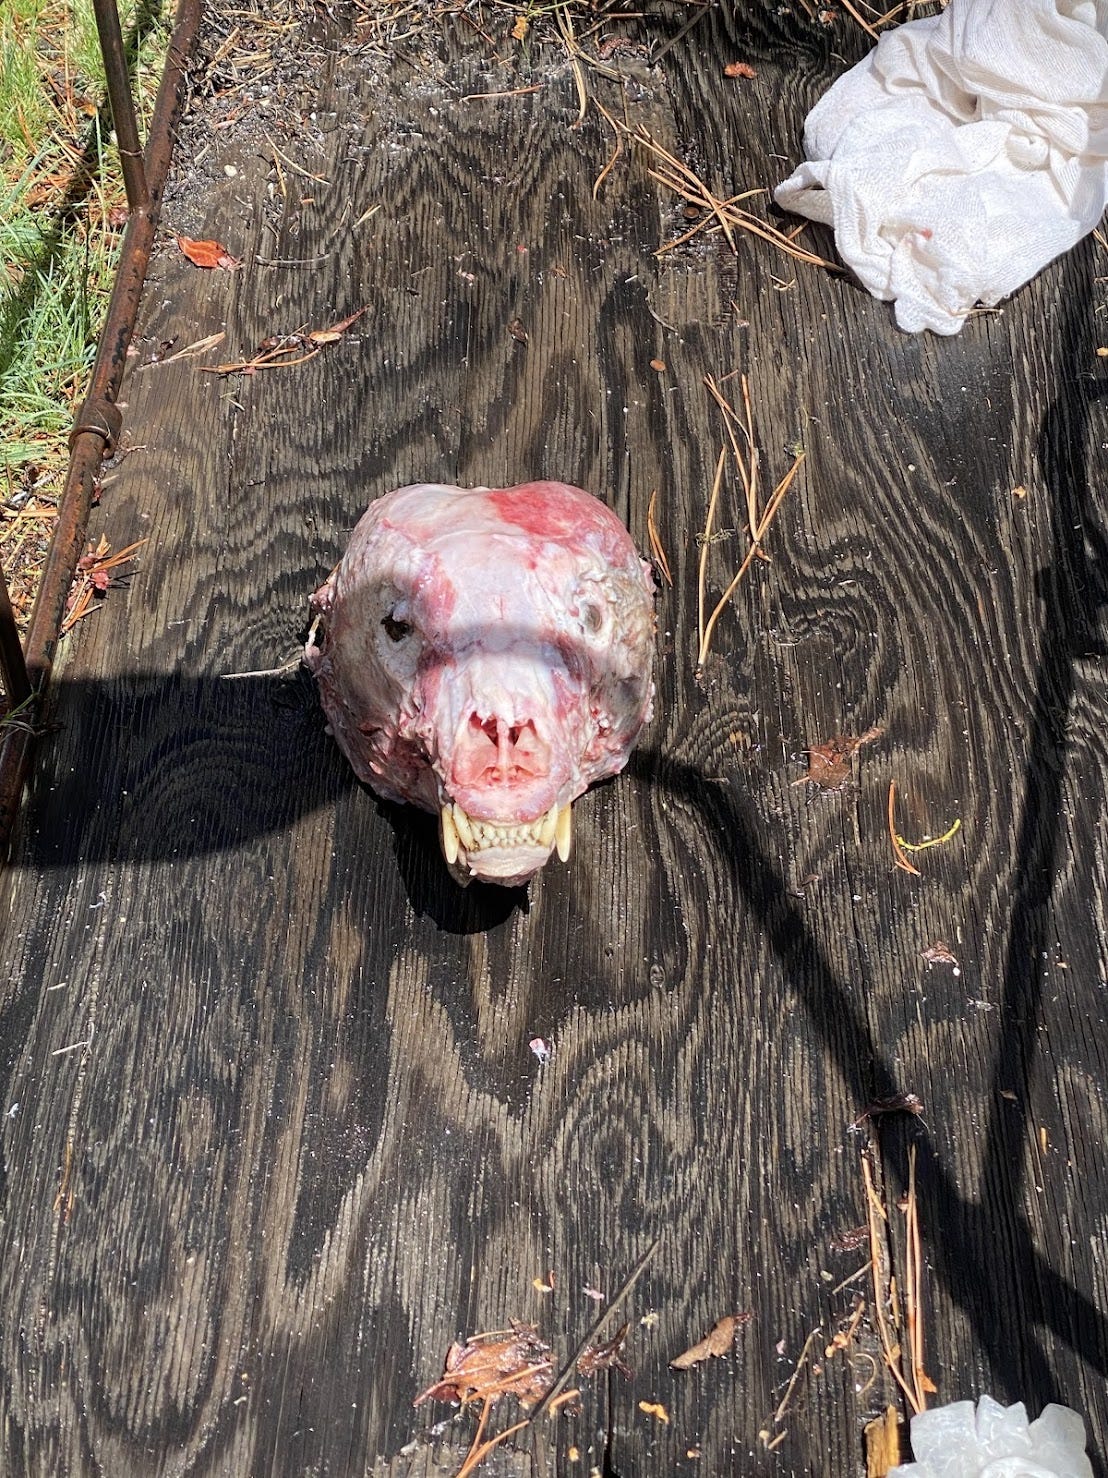
The removed bear skull


Though intimidating, this process is one that is quite easy if you take your time. This will also help you or your taxidermist in the next steps in self tanning which I will cover in the next article!