Why Hunt Like Your Great Grandpa?
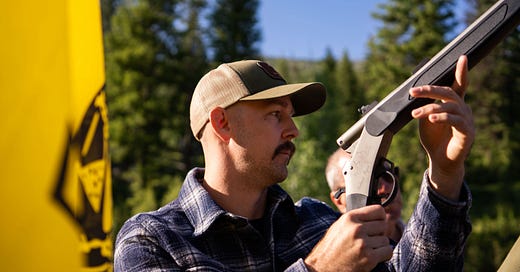
Although my favorite movie is Jeremiah Johnson and reading stories of mountain men carrying muskets and Hawken rifles was something that filled my childhood day dreams, muzzleloaders were always just a romantic idea of a bygone era to me. For years, that romance was happily buried by my pursuit of archery-only hunting until a great friend of mine recently gifted me with a beautiful Vortek Strikerfire .50 caliber muzzleloader with an after market William’s Precision Sight.
With that great gift came an onslaught of questions fueled by a bigger sense of curiosity. Who still uses a muzzleloader? What’s the benefit? And more importantly, how do you fill that thing with “powder and ball” and shoot it without blowing yourself up?
Modern Muzzleloaders
Before we get into my first range day with a muzzleloader, let’s start with a little bit of history. Muskets and muzzleloaders were the main weapon of war and hunting up until the end of the civil war in the United States of America around 1865. The advent of breech loaded metallic cartridges put the nail in the coffin for them as people could then purchase a self-contained projectile that was less susceptible to the elements (e.g. rain). That said, breech loaded weapons did not fully eviscerate the use of muzzleloaders for quite some time… it wasn’t until the cost of manufacturing breech loaded weapons, and the ammo that went with them, came down in the late 1800’s that muzzle loaders truly became a thing of the past.
It stayed that way for decades and decades until a small group of hunters in the 1970’s went looking for a more challenging and traditional way of hunting. After playing with flintlocks and other muzzleloaders, these gentlemen started seeing success and began a movement reverting to traditional hunting practices. Pretty soon Fish and Game departments started opening up early and late muzzleloader seasons for sportsmen and women around the country, and gun manufactures began to produce more modern weaponry that espoused the traditions of old with newer and more reliable composite materials.
So, why try Muzzleloader Hunting?
Well, to answer that question we have to look at a few factors. Namely:
Opportunity, and;
Challenge
Though muzzleloader hunting is difficult (as you will see in my experience below), it offers up opportunity for sportsmen to target animals during opportune times of the year which are often closed to traditional rifle hunting. What got me hooked was that Idaho offers an OTC muzzleloader tag for doe Mule Deer in September every year. This is a time when most places are closed to rifle hunting and archers are the only ones roaming the woods. Furthermore, you can also apply for select controlled hunts such as bull or cow elk muzzleloader in September, which usually sees few people applying and traditionally has a pretty high success rate (well, except for me… I did not draw either of those tags despite two of my friends succeeding in the draw).
It’s also a challenge. When I first got into hunting I focused on archery hunting for that very aspect. I wanted something that would be difficult to achieve and always carried a high probability of failure. If I wasn’t putting on tons of boot miles and using every sense available to get in close to an animal, I didn’t want to be doing it — which, to date, has kept me away from hunting with a rifle.
Yet, with a muzzleloader, there are many things to consider that make it a proper challenge. First, you are using loose powder and a ram rod to load your bullet. Get your powder wet and you are toast. Second, the effective range is still only about 100 yards (give or take), which means you need to get close to your quarry. Third, it’s considered a traditional weapon in Idaho, which means you cannot use any magnified optics — only open iron or peep sights.
A Million Things to go Wrong…
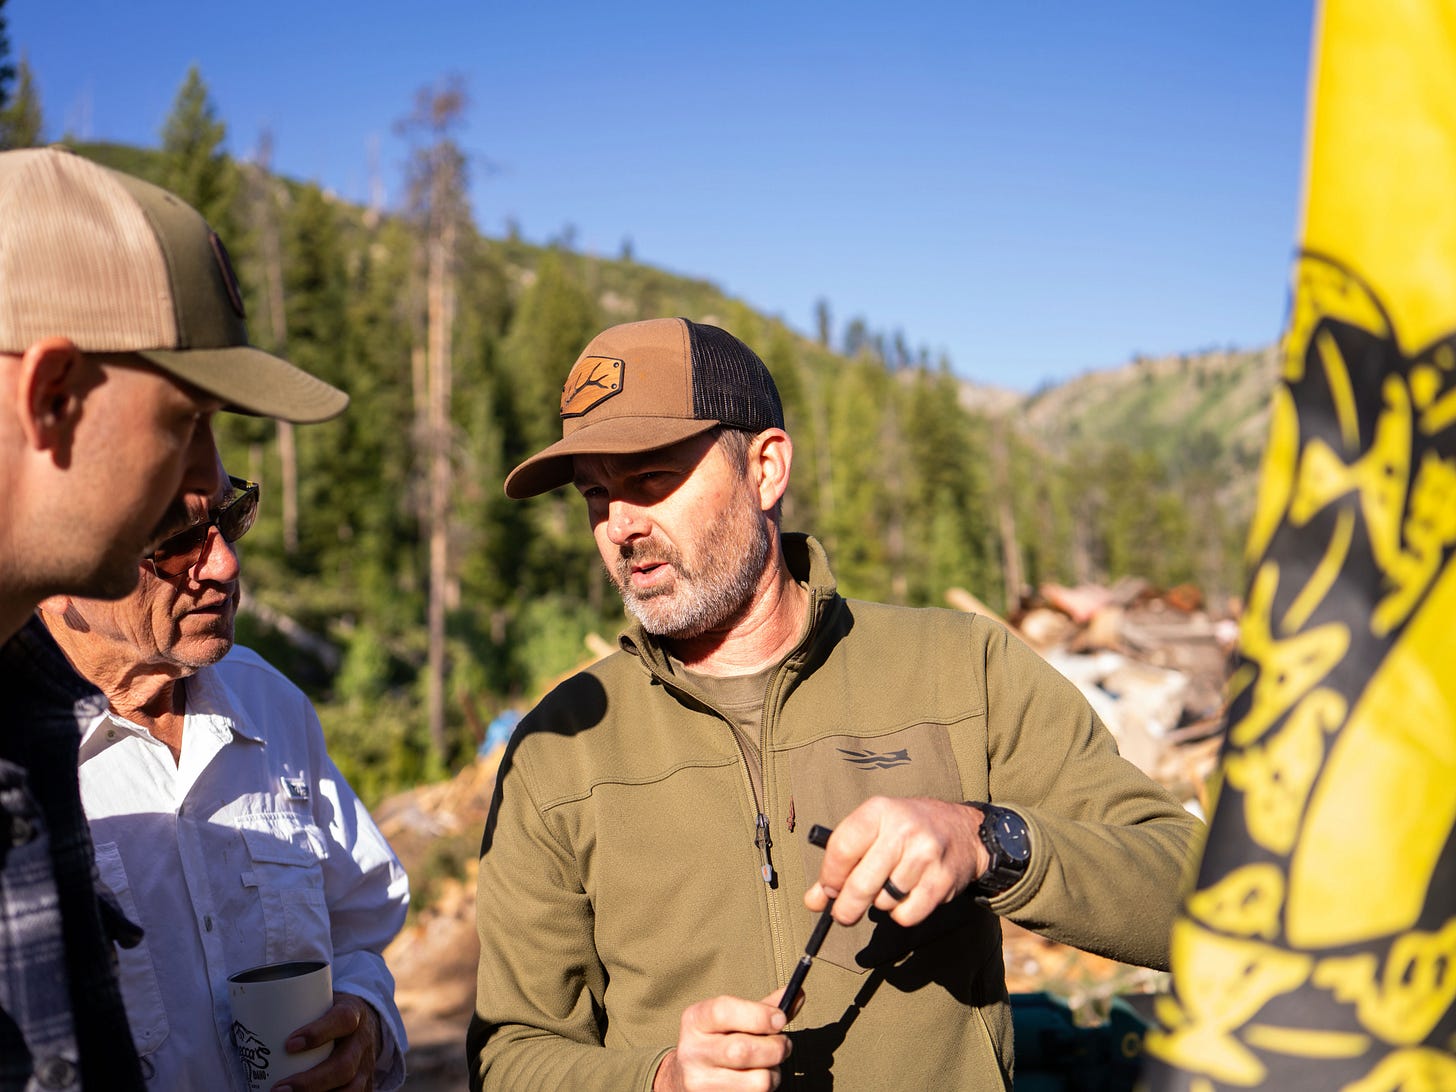
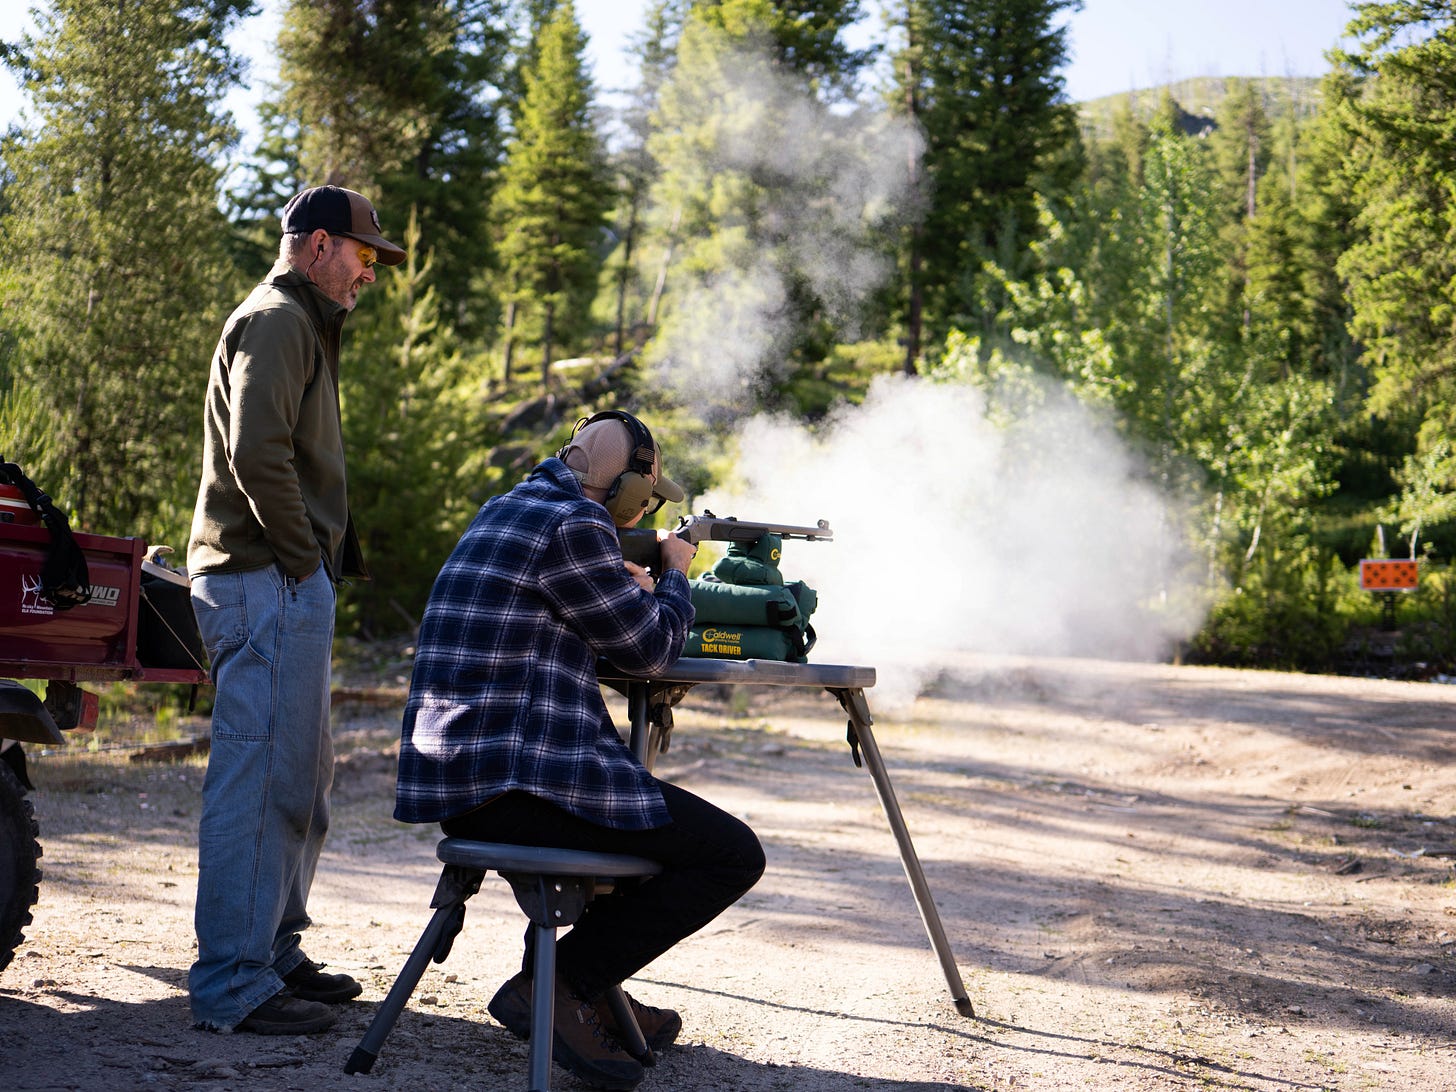
When I showed up to our local range (aka our town dump) last week to fire my muzzleloader for the first time, I had no idea what to expect. My friend and hunting mentor, John, was there to run me through the paces and he put on a literal clinic which made my head spin.
First and foremost, it seemed that the key terminology being used was “keep things clean and dry.” Everything we did was followed by either a cleaning, or at minimum, an observation at how dirty a piece of the rifle was getting.
Unlike a typical range day where you take your weapon, load it with ammunition, and start firing… we started by taking our long ramrod (yes I still laugh at that, too), applying a clean white dry patch to the end and working it up and down the bore of the barrel. Why? Well when you clean your muzzleloader to store it, you use something called bore butter to fight corrosion… which leaves trace amounts of moisture which needs to be sopped up before firing your weapon.
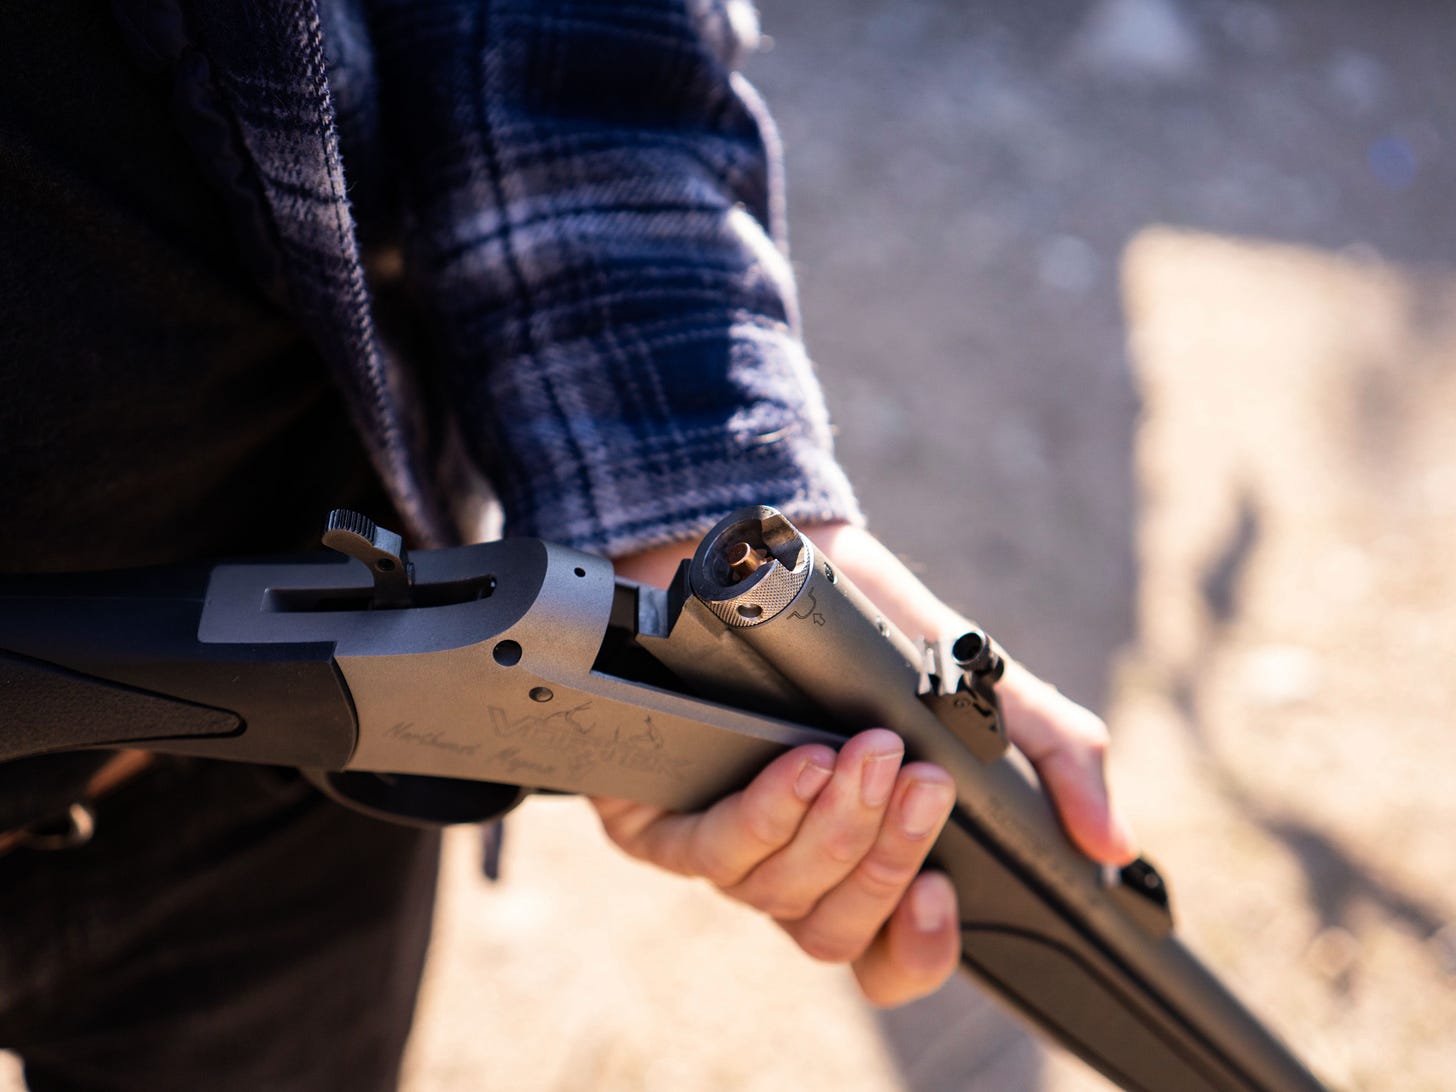
Once we had the barrel clean, John began to teach us all about the weapon itself. In Idaho you have to have an exposed breach with the ability to see the percussion cap covering the nipple, which is all a part of the mechanism to make the gun fire. For our use, we were using german-made 4-wing musket caps which were meant to burn hot and ignite the powder we would later be using.
To test this, John placed a musket cap over the nipple, pointed the barrel safely at the ground, cocked the hammer, and pulled the trigger. It took 3 tried before the hammer got the cap to “ignite” which made air come out of the barrel and small puff of smoke to release from the breech. We repeated this a few more times before John cracked the barrel open and allowed us to look down the nipple hole to see the grime and buildup that had occurred with just the use of the ignition caps. What was once a whistle clean little hole was now mucked with carbon build up and little piece of metal shrapnel. Confirming our caps were working (within a decent margin of error) we did a quick blowout of the nipple and hit it with a swab from a breech cleaner and went to the next piece of the puzzle - powder and lead.
Thankfully John had used my rifle before and had exact measurements of what we needed as it related to the powder (Triple 7) and quickly used a tool to help us measure it out. With little fanfare, John poured the black powder straight down the clean and dry barrel of the rifle before pulling out one of the 275 grain T/C bullets that were laying on our makeshift shooting bench.
Placing the bullet as flatly as possible, John grabbed a traditions ball starter and began to shove the projectile into the open end of the barrel. He then handed me the rifle and the ramrod (yes, ‘haha’ once more) and let me feel the pressure needed to force the bullet to the bottom of the barrel. Once seated, John put enough force on the powder that was sitting under the bullet and noted that as we play with loads over the next few weeks, once we get the right proportions that we should score our ramrod so that we do not run the risk of over or under packing our powder and bullet. With that step complete, we were ready to make our way to the shooting bench to give the gun it’s maiden voyage (in my amateur hands at least)
Hang Fires & Patience
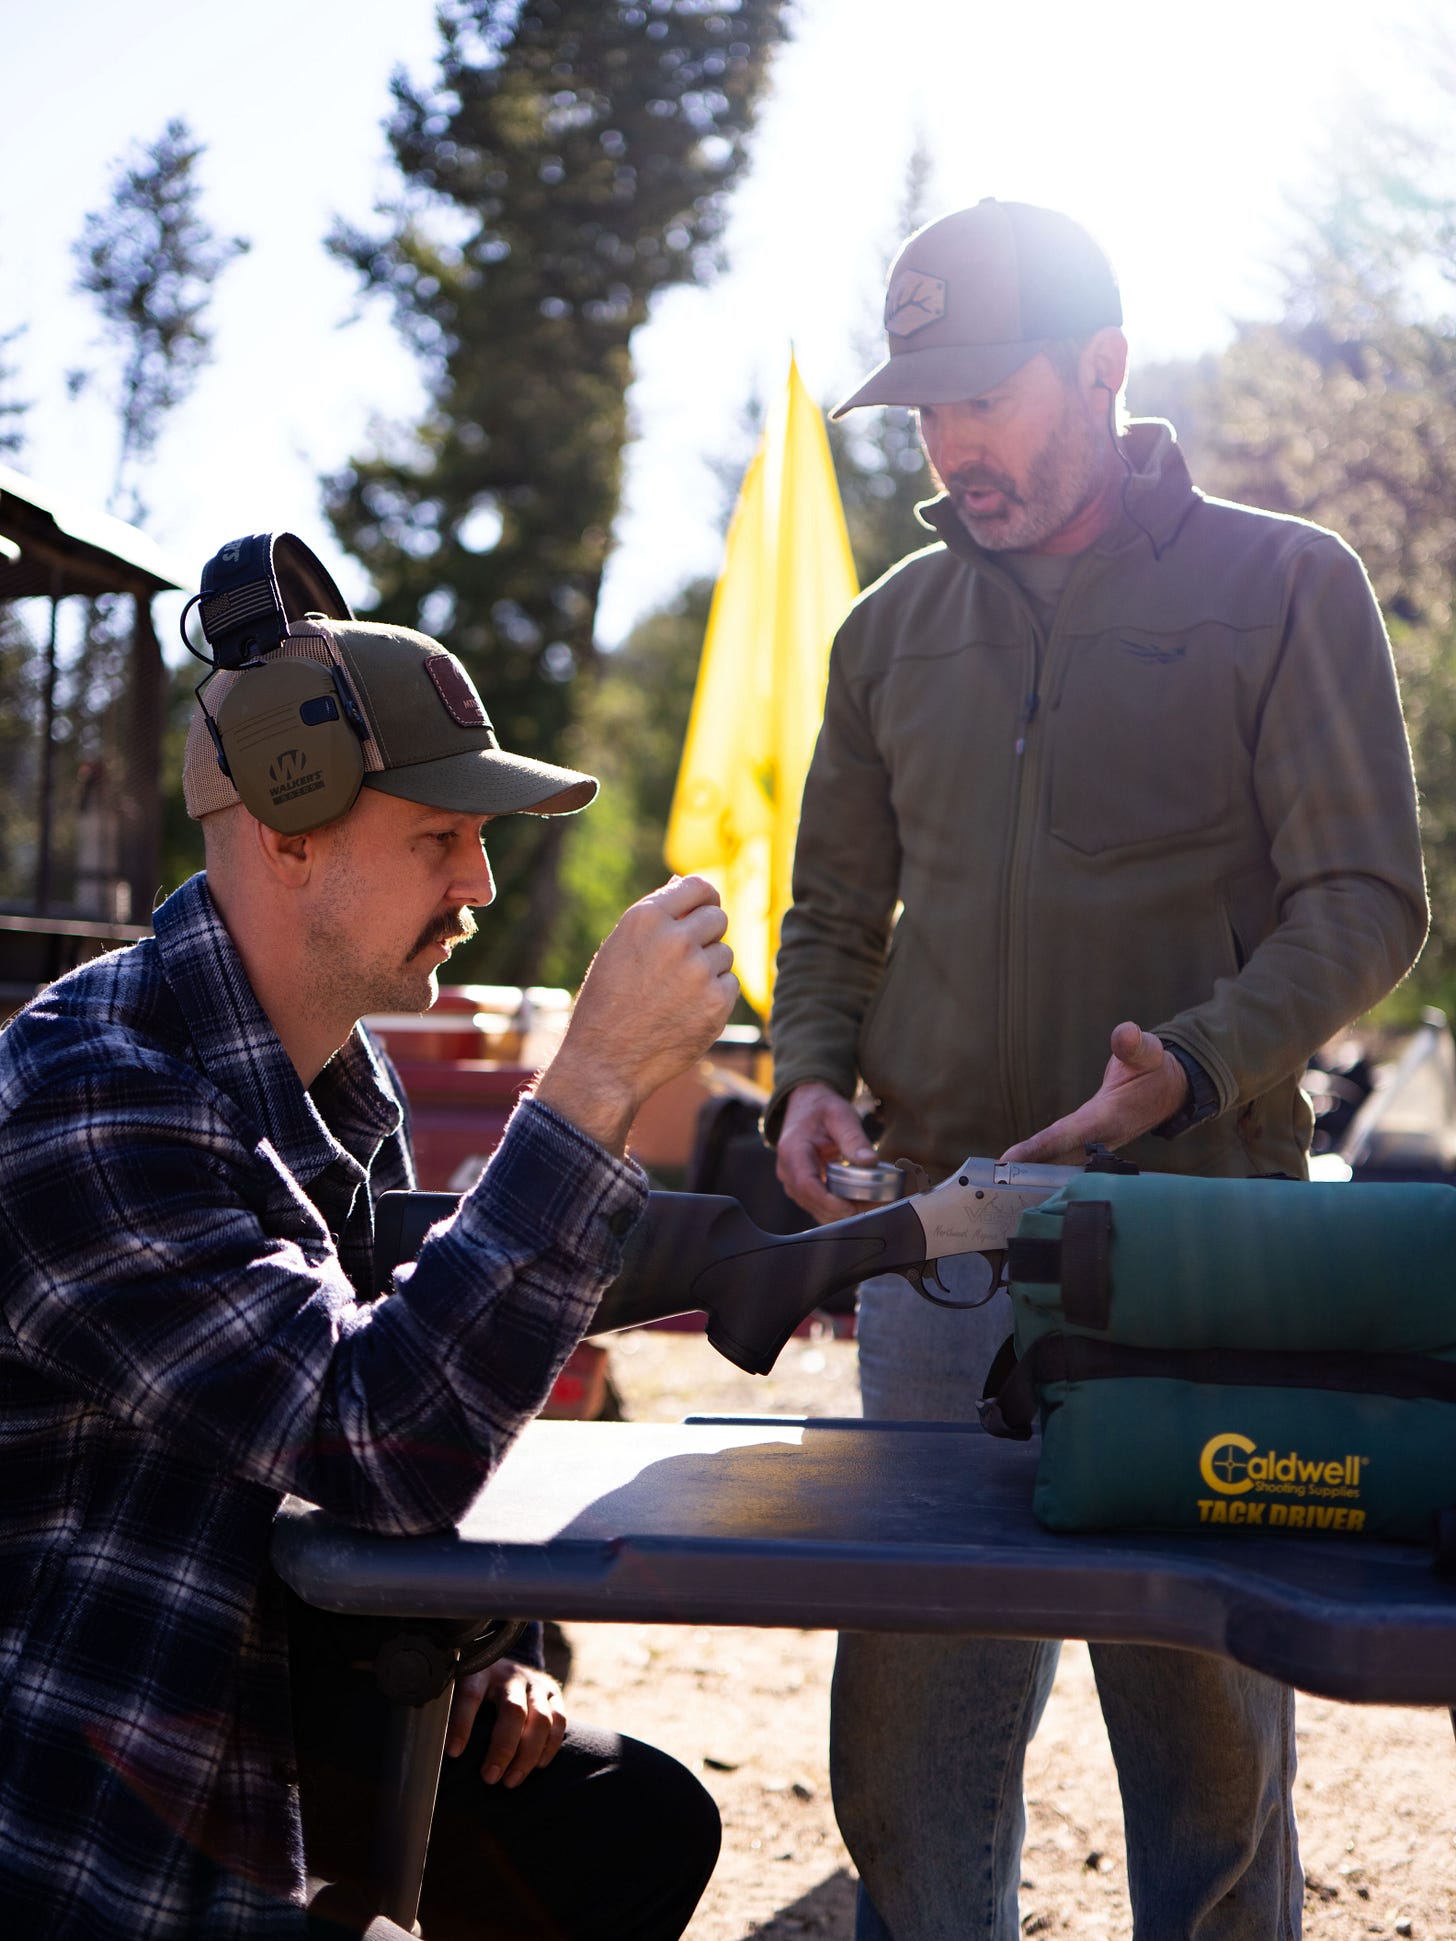
Sitting on our Caldwell collapsable shooting bench we set up our shooting bags with a bright orange target 25 yards in front of us with a natural berm behind it. With a few nerves swirling around at the unknown of shooting a .50 caliber rifle for the first time, I nestled into the rifle and got one of the diamonds on the target centered in my peep sight. Once satisfied with my positioning I sat up to get instruction on what was needed to make the modern muzzleloader go “boom.”
John instructed me to break the breech and expose the nipple. From a small Tylenol bottle, he fished out one of our 4-wing musket caps and I handed it to me to place on our nipple. I then shut the breech and we were officially ready to shoot the rifle for the first time.
John took his place behind me and coached me on cocking the hammer and taking the gun off safety. With that, I re-centered my peep sight and moved my finger to the trigger. With a controlled breath I began to depress the trigger just as I had learned in my Long Range Hunting course, anticipating the same recoil that I get from my Collier .300 PRC.
Yet as I pulled the trigger releasing the hammer, nothing happened. Calmly, John told me to re-cock the hammer… acknowledging that often times the hammer may not have the “oomph” to ignite the cap on the first go — which adds yet another element to muzzleloader hunting, the need for nerves of steel.
On the second trigger pull, I saw a small puff of smoke in front of my face and heard a small *pop*, but felt no recoil. Immediately I did what I shouldn’t do and sat up. John yelled at me “to not move,” while explaining what a hangfire was, and I heeded his warning. After 15 seconds we all breathed again and I opened the breech of my weapon and removed the used musket cap from the nipple and put a new one on.
With a spiked dose of adrenaline I resettled in to my rifle and once again cocked the hammer. After two more non-fires, on the third attempt the gun went “boom” and sent my .50 caliber projectile down range, slightly high and right of my intended target. The recoil was not quite what I expected - it was not snappy like a modern high caliber rifle, but more of an aggressive push with an explosion of powder.
Satisfied with our first shot, we went about following the same steps as before to reload our rifle before attempting one more shot. Of note, on our second reloading, the bullet seating was much more difficult given the carbon and grime build up on the barrel after just one single shot!
Though we were pretty much on target for the second shot as well, my high and right tendency shows that I was anticipating the recoil and explosion, which I will need to work out as I spend more time behind the muzzleloader trigger. See below:
Keepin’ Things Clean
Once we were done, we went through the whole cleaning process, which involved many T/C wet patches, lube, and dry patches… and when I say we went through a lot of cleaning patches, I mean it. It took at least 15 swabs before we started to get a marginally clean barrel. Once the barrel was clean-ish, we switched to the breech and nipple, which both required specialty tools to release. After wiping, cleaning, and studying each part, John pulled out some anti-seize lube to place on the threads to help prevent a future lock up which would make cleaning and maintenance nearly impossible.
Once lubed, our gun was ready to put away until our next use!
All-In Cost
For those looking to get into Muzzleloader hunting to take advantage of a relatively inexpensive and challenging pursuit that opens up a lot of Western (and Eastern) hunting opportunity, I have broken down the costs of everything that was needed to get started. All in, you could get into muzzleloader hunting with reliable equipment for just north of $1000:
