


Every spring there is a fur sale here in Idaho where the majority of pelts are bought up by a myriad of different fur buyers. Representatives from luxury brands like Balenciaga, Michael Kors, and Canada Goose sort through piles of the previous winters harvest to help adorn their handbags and coats. With that, though, comes a level of professional fur handling that not all of my furs were lucky enough to receive from myself, the amateur.
As a result, I have a handful of furs that were not sold and I plan to tan them myself for use in garments or decoration. This includes two foxes that were poorly skinned and fleshed as well as the first few beavers of last season that I struggled with to get properly hooped — I also saved a few of my better beaver pelts and one really nice cross fox that I plan to make something special out of for my daughter.
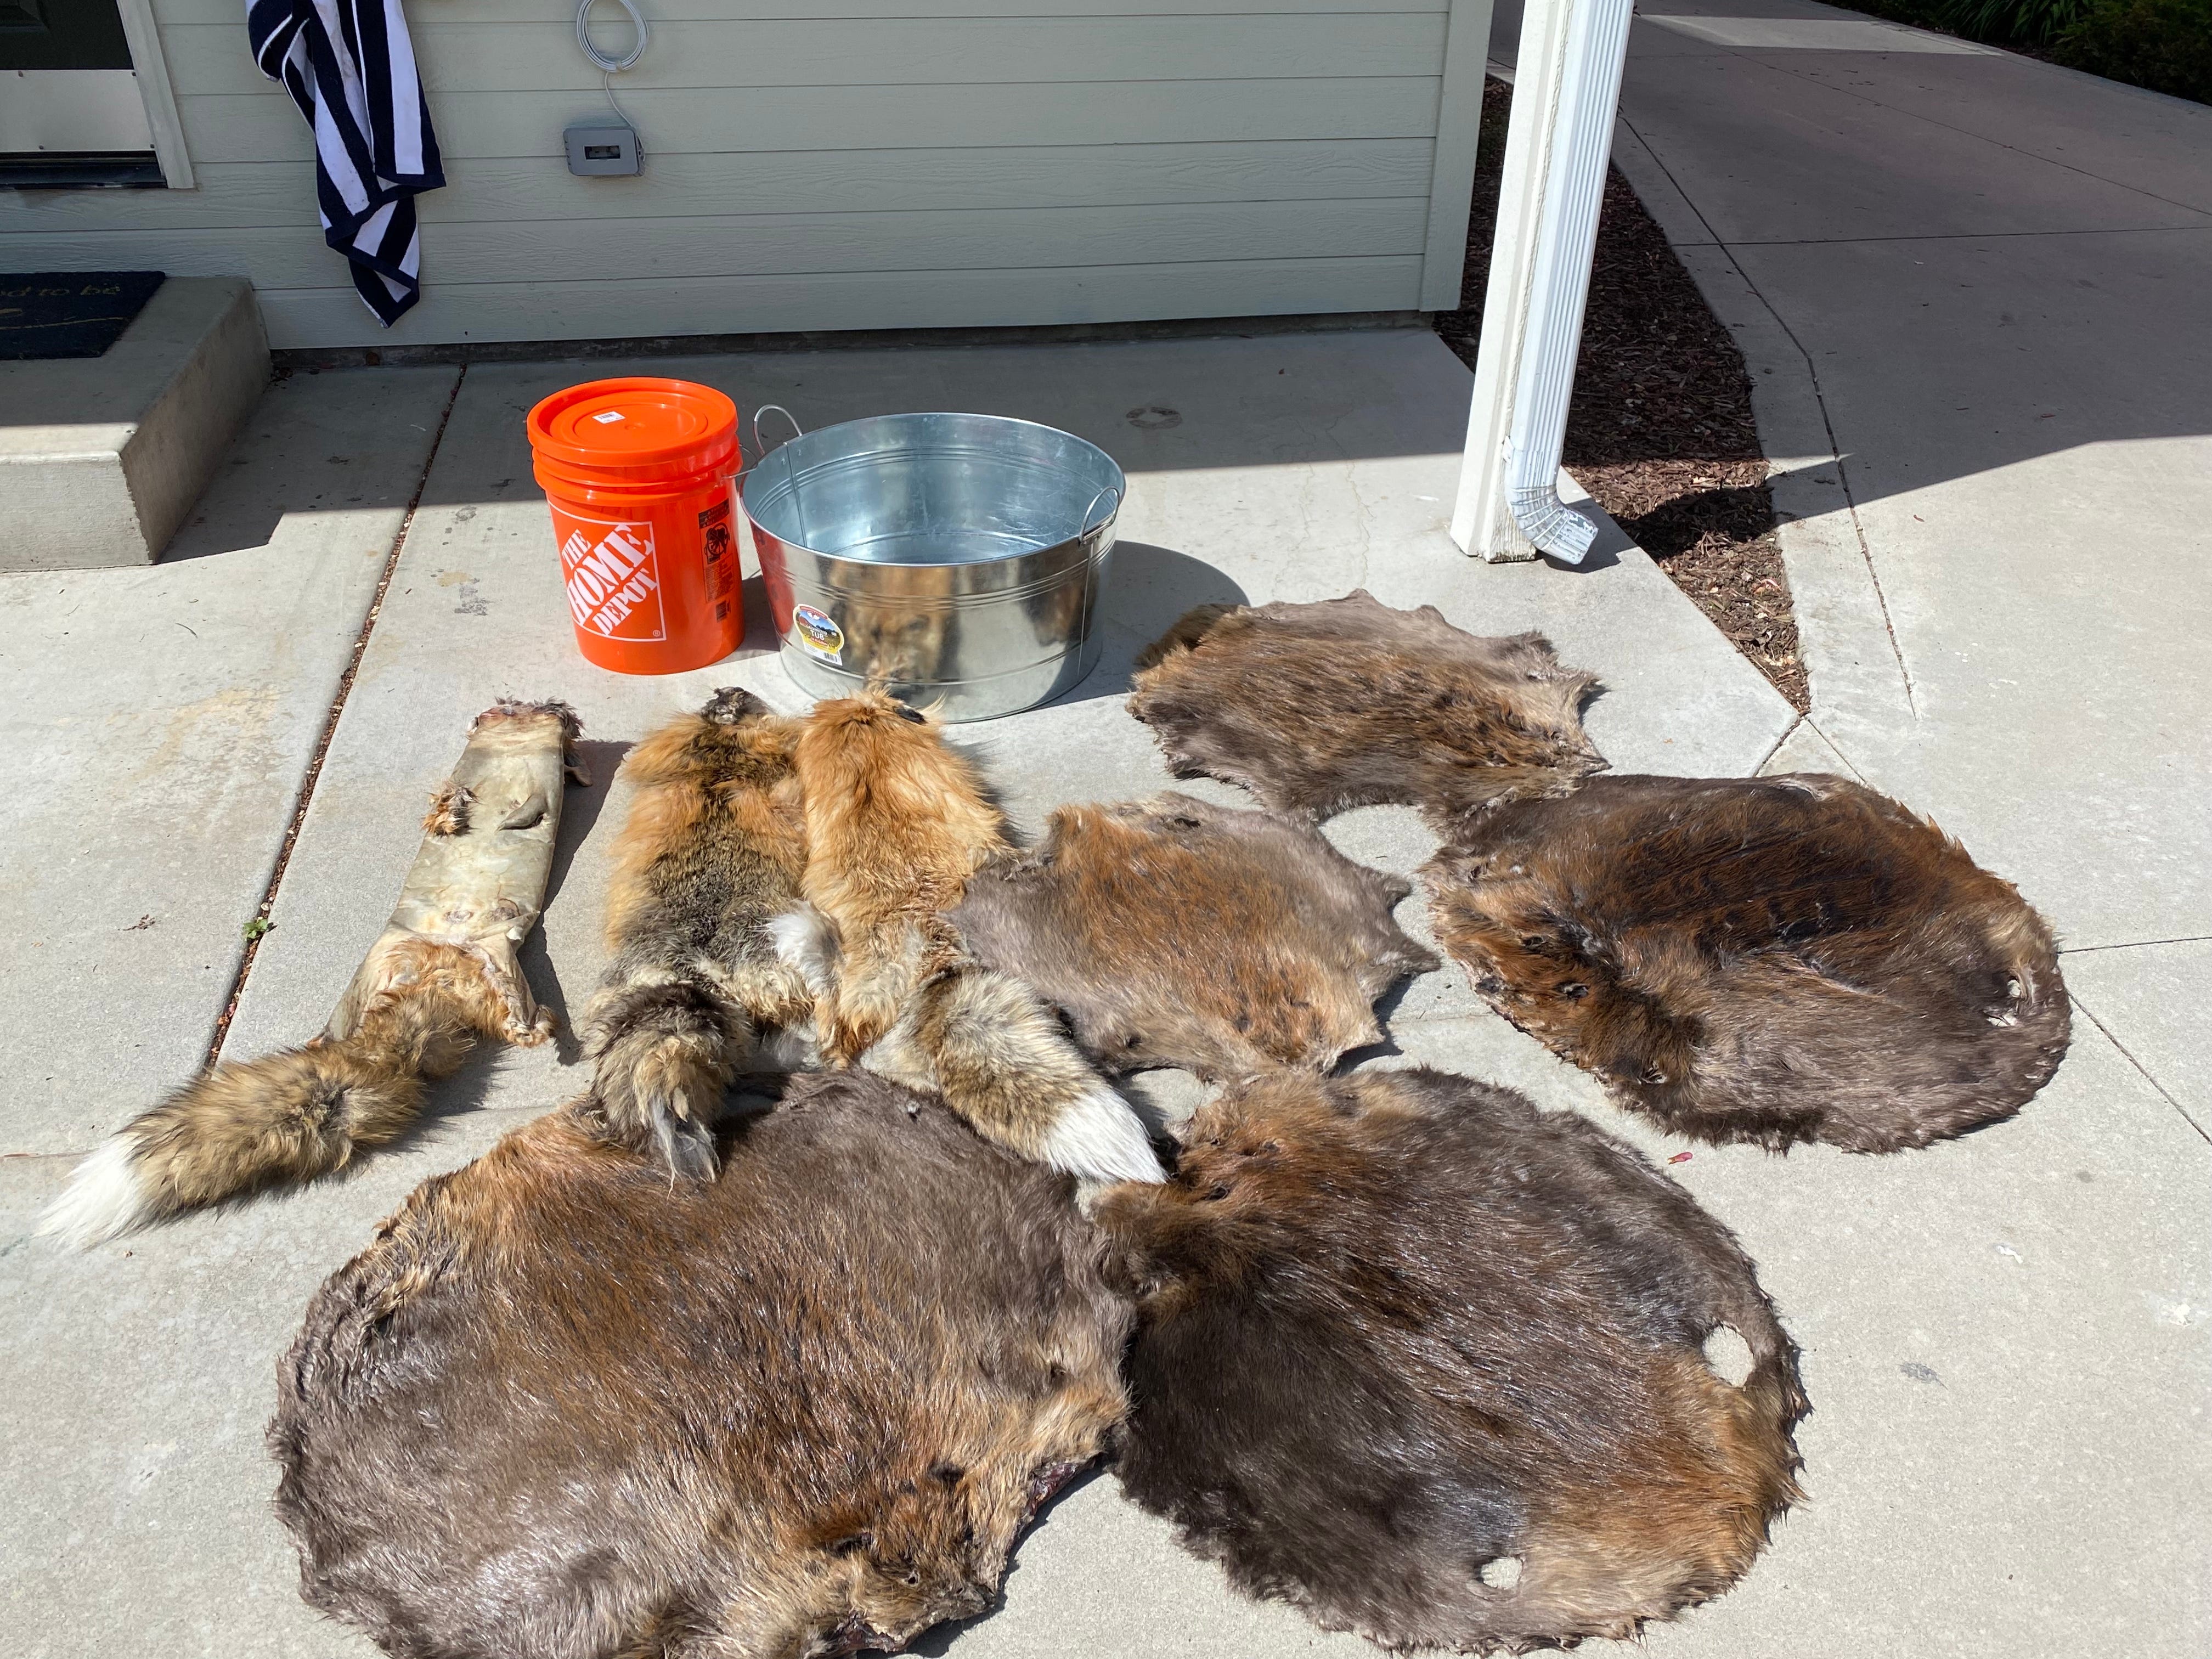
Over the next few days I will be taking you through the step by step process of turning a raw dried pelt into a supple leather that can be used however you see fit:
The first step in the multi-day process is to rehydrate your fur. I took a large plastic bin and a small horse trough and filled it with cold water. I then submerged all of my furs until there were no air bubbles coming out and they were all covered. For the larger beaver furs in the plastic tub, I had to add a 5-gallon bucket filled with water to keep them submerged. The thinner skinned fox furs only needed about 10 minutes of submersion while the beaver furs stayed in the dunk tank for 20+ minutes.

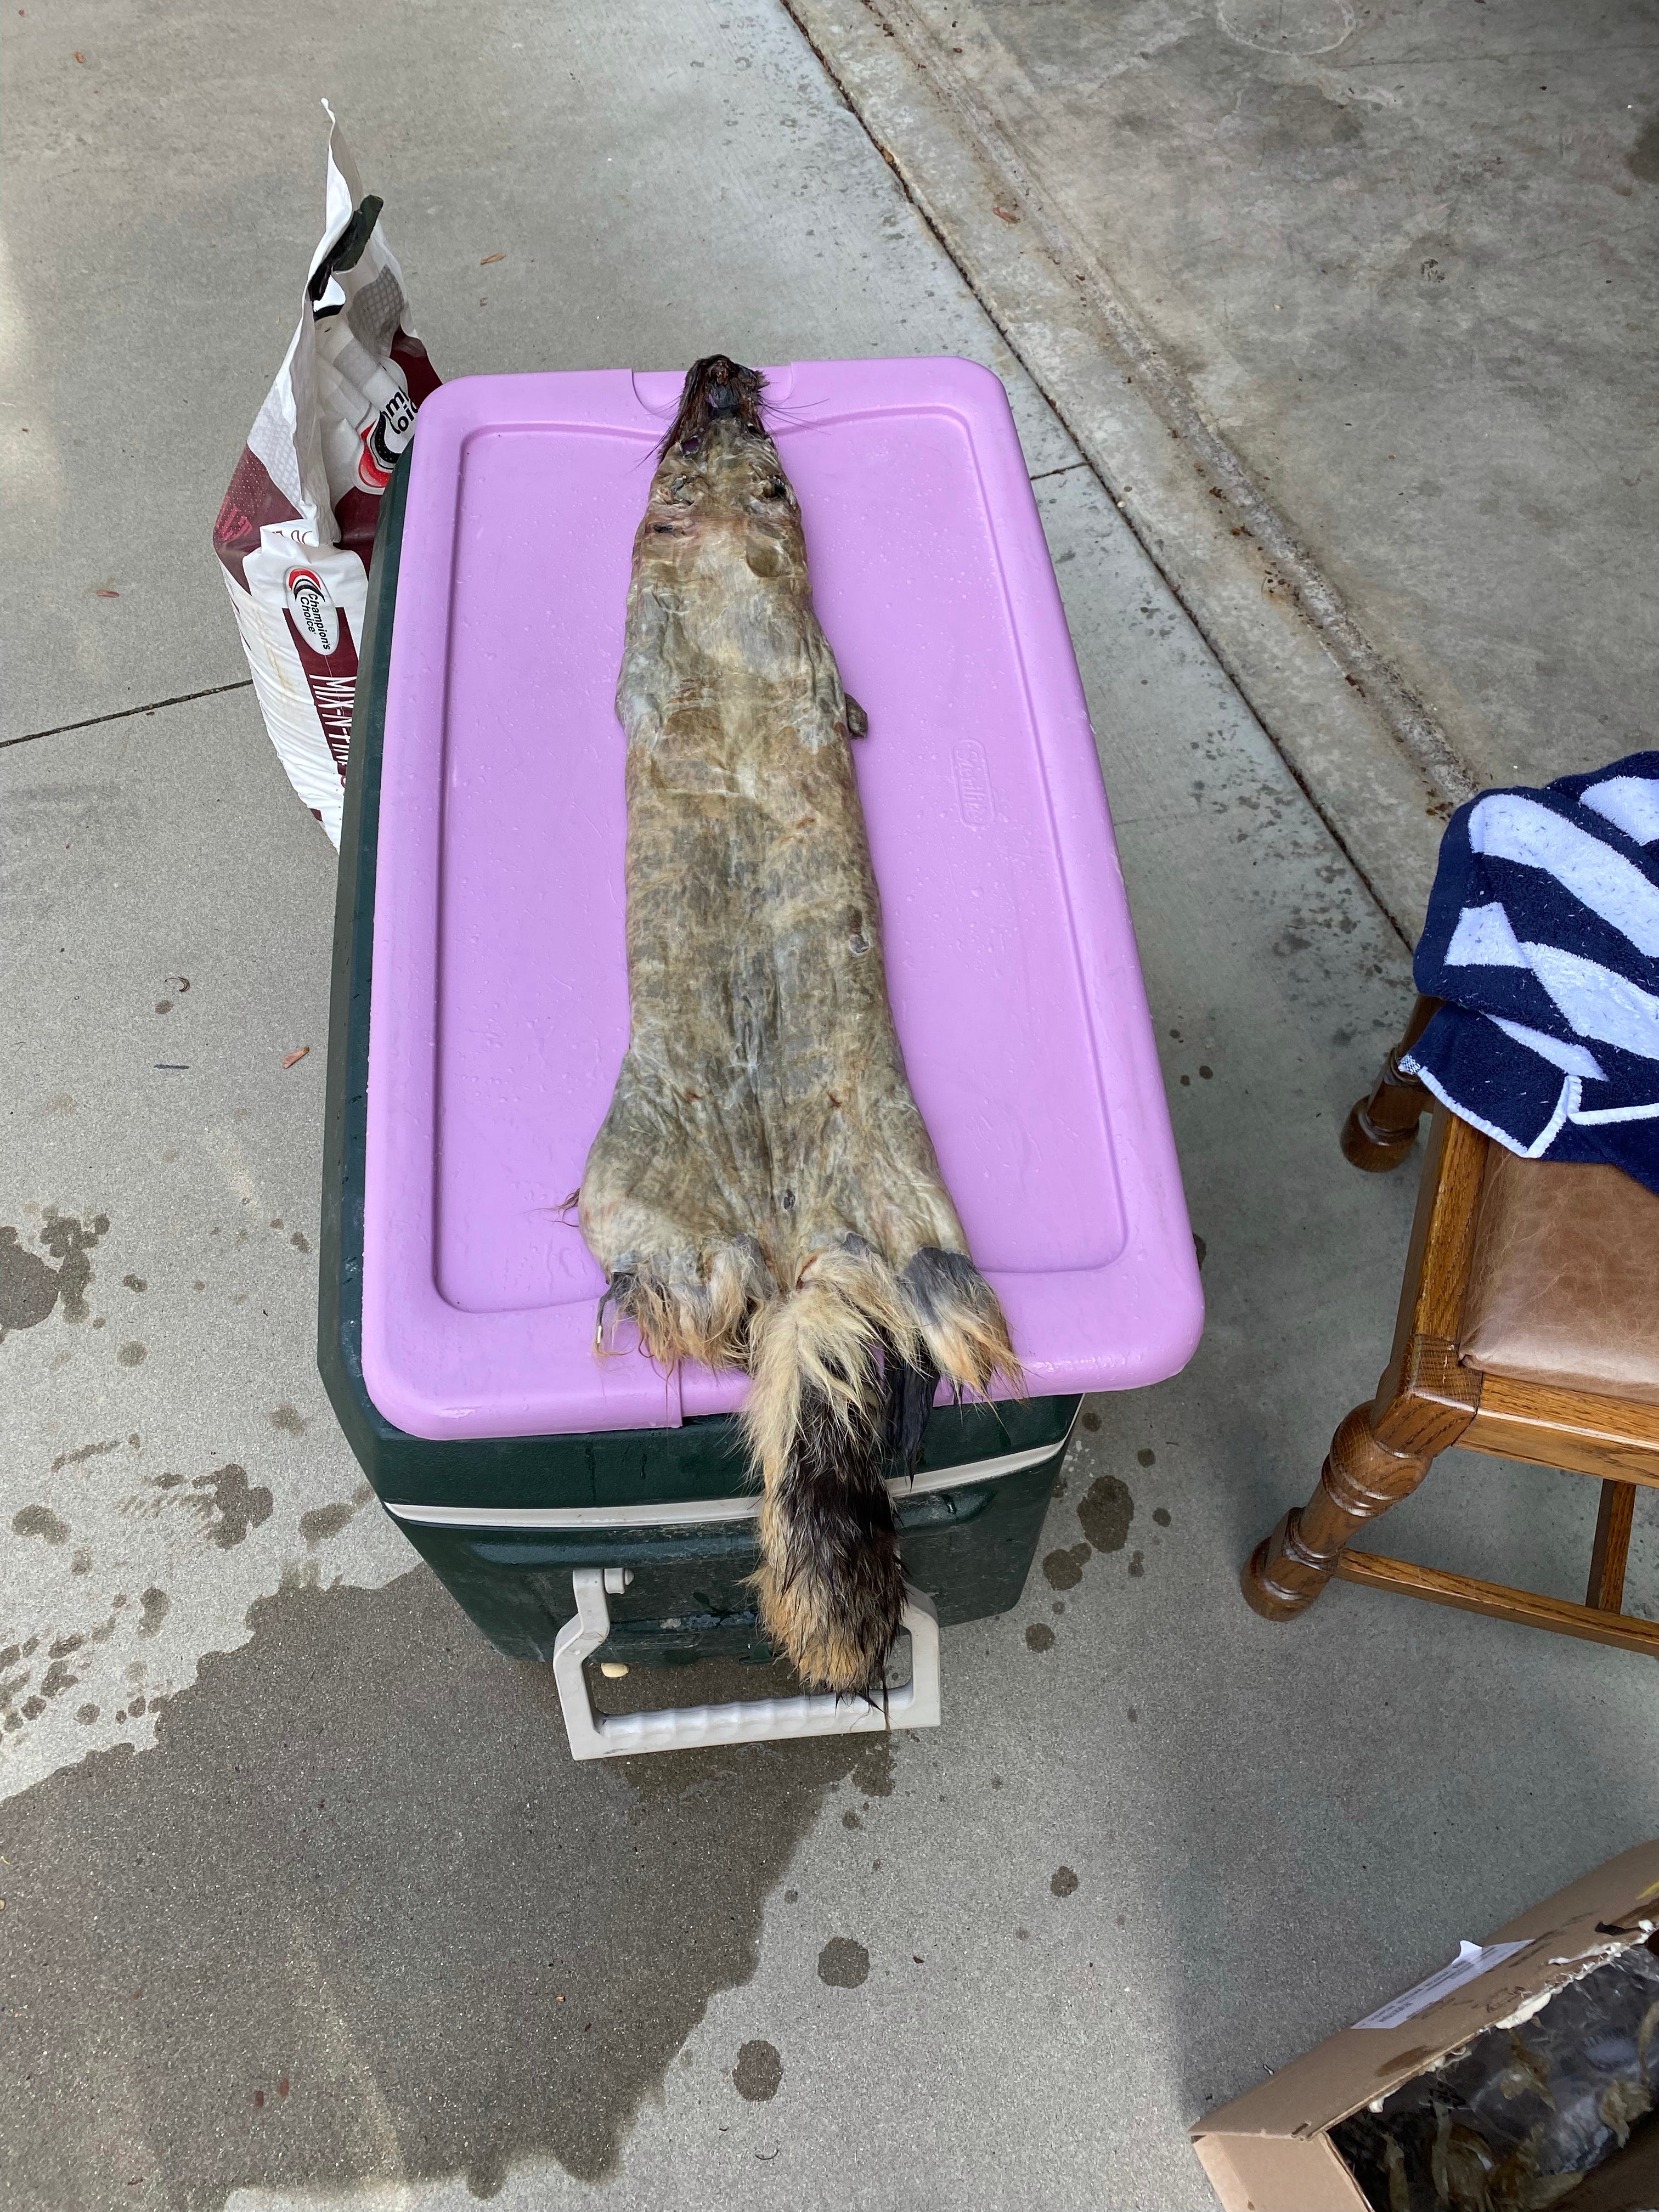
Once soaked, you need to ring the water out of your furs and then “snap” them dry. When I say “snap” I literally mean you take your fur by it’s head and whip it like you are Indiana Jones... if you do it well you will hear the loud pop as if you were snapping a wet towel at a friend... If you do it poorly to a structurally compromised fur like I had... you will hear a plodding thump as half of your fur lands on the ground at your feet.
Yes, I managed to split two of my foxes right in half with my aggressive snapping... Though disappointed it was not too big of a deal as I planned on using those furs for small garment items and would be cutting it up anyhoo... The properly skinned cross fox and beavers “snapped” just fine though and I ended up with malleable and semi-dry pelts ready for the next step.
After your snapping (which is hopefully better than my attempts) you need to set up a table, get a blunt tool (like a hog scraper or the back of a kitchen knife), a razor blade, and a drink of choice. For the foxes, you need to remove the membrane that remains on the skin side of your pelt... this is known as the saddle and if you do not remove it the salt and future tannins that will be introduced to your pelt won’t take.
This is pretty easily removed and just takes a little time and patience. For the beavers, you will not have a saddle to deal with, but any remaining fat globules that you failed to remove in the fleshing process needs to be carefully removed... Remember, if you’ve come this far in the fur harvesting process now is not the time to get lazy. Take your time and remove as much fat and membrane as you can.

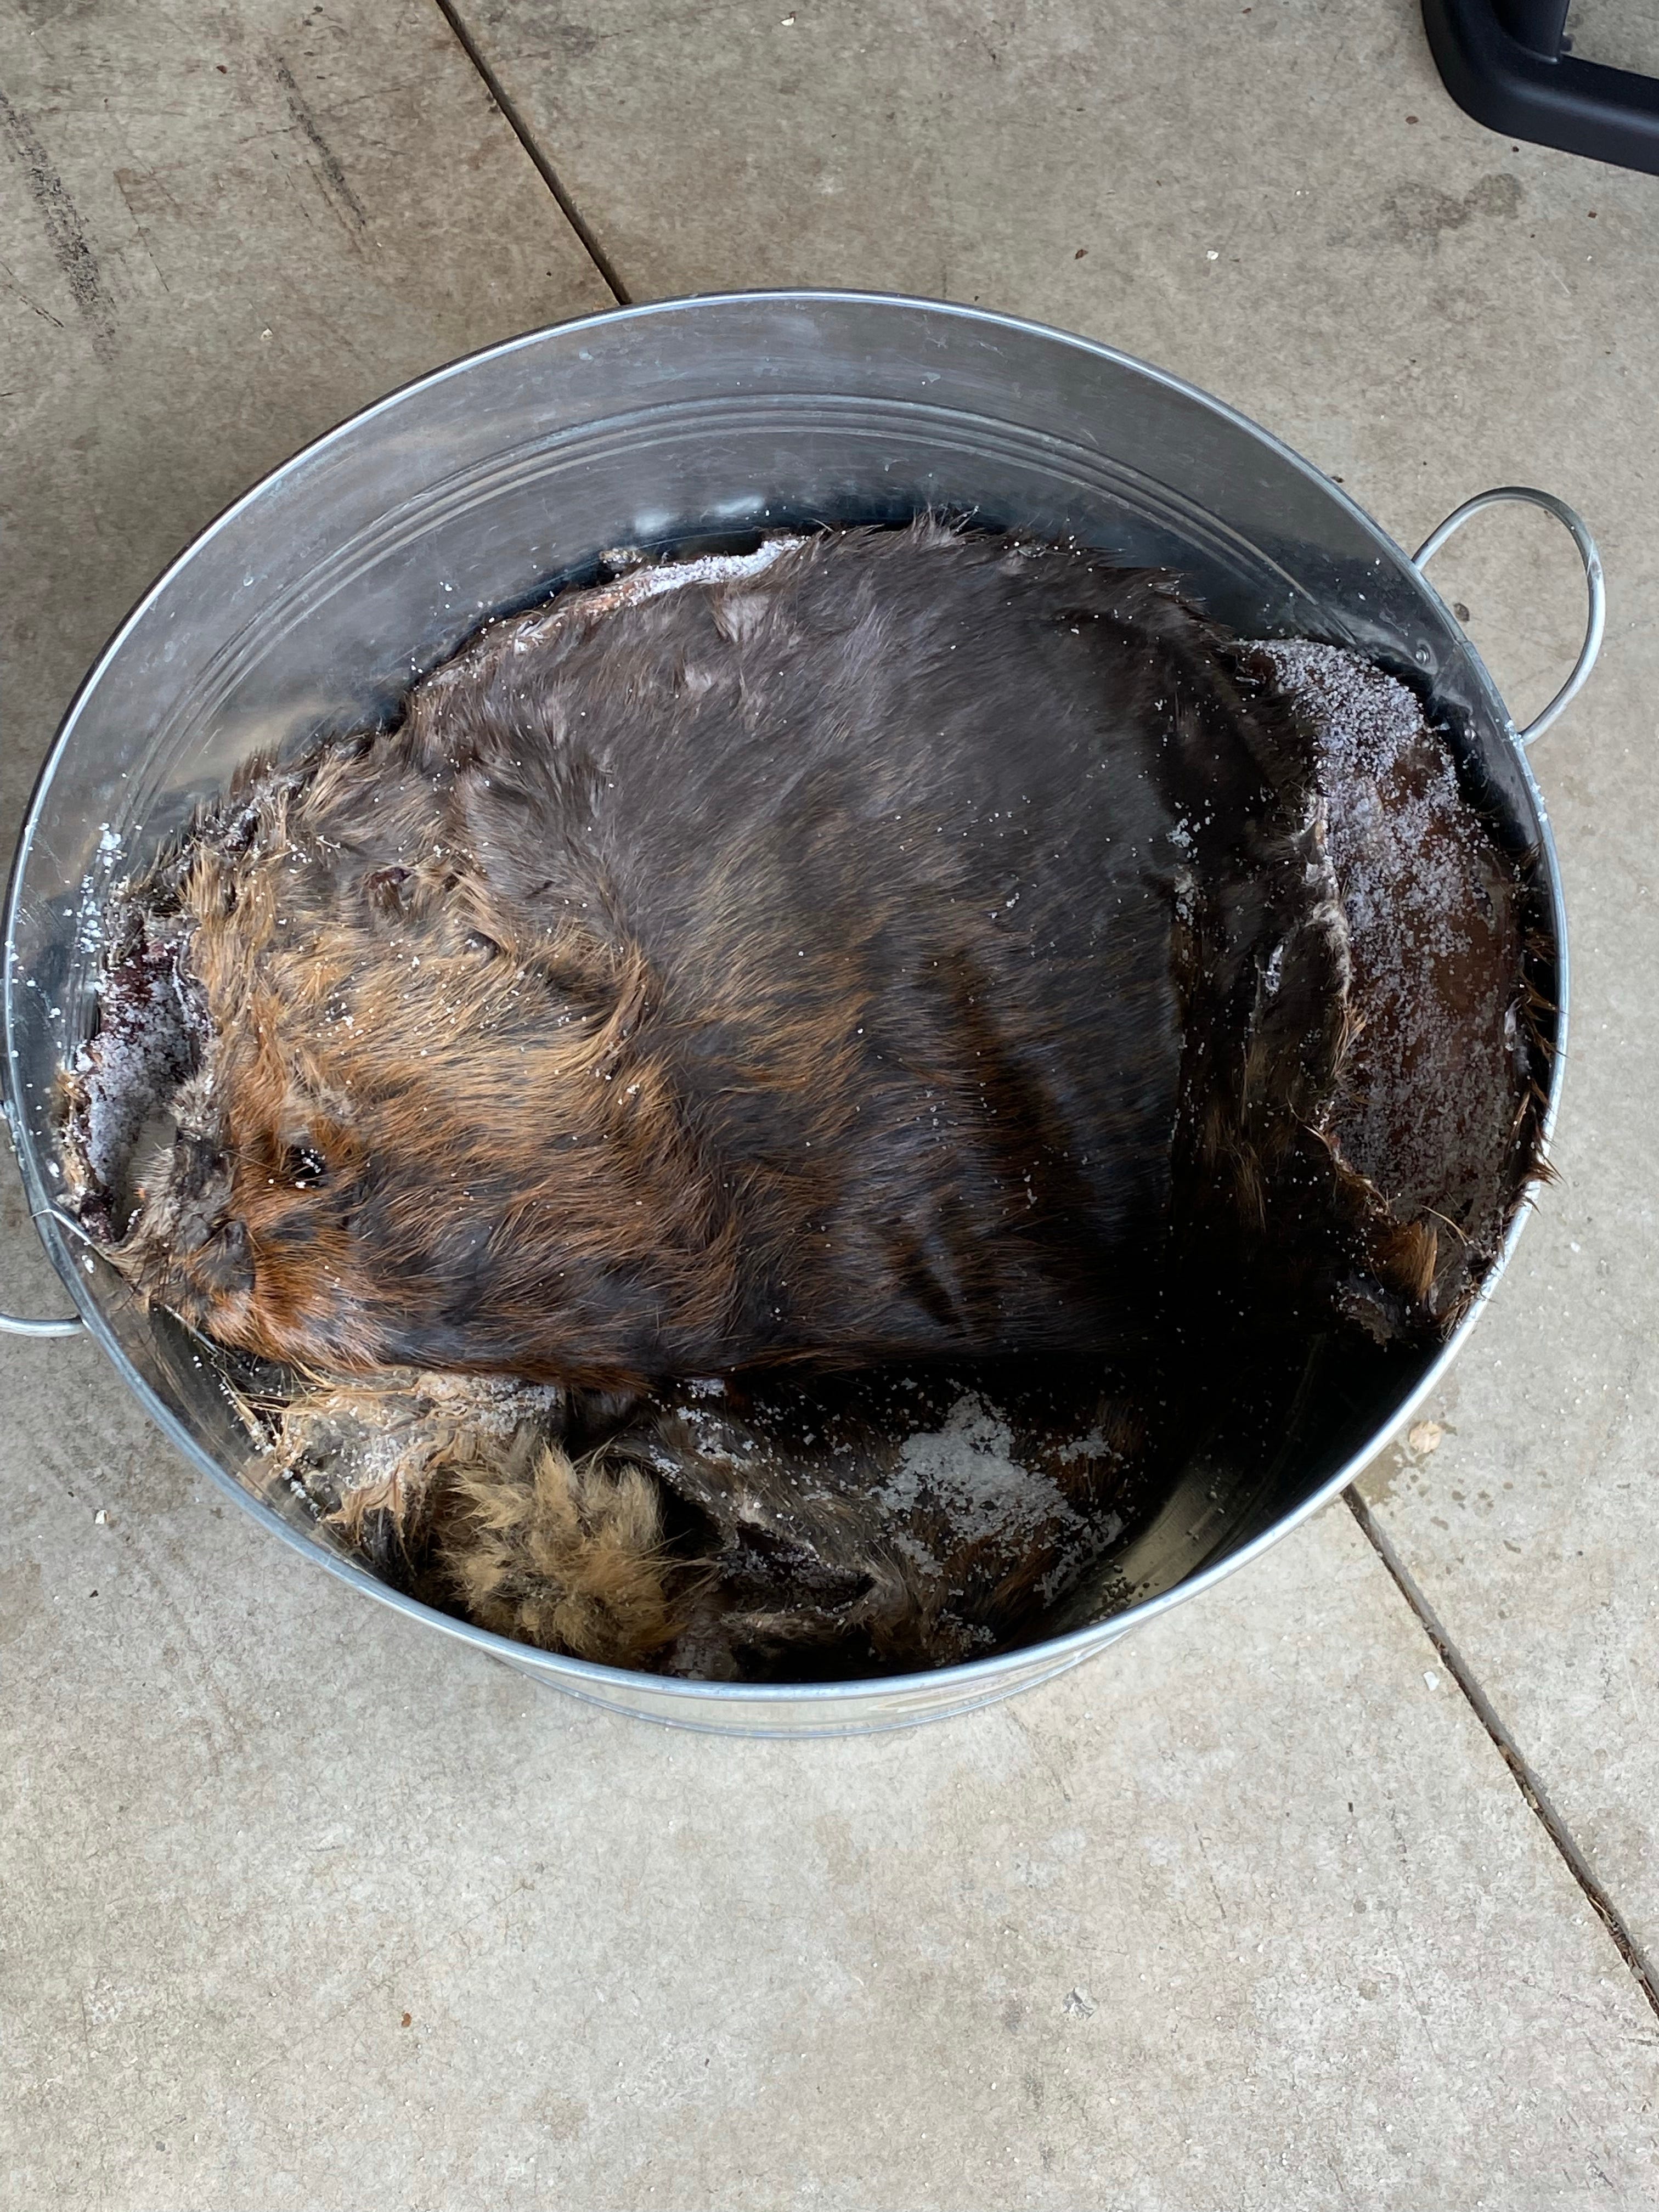
Prepping to remove the saddle. Once all of the saddles and fat have been removed it’s time to salt your hides. You need to fully coat each fur with non-iodized table salt, or in my case, a slightly coarser non-iodized salt. Again, this is the time to be liberal with your application and make sure every square inch is covered. For the foxes you will turn the pelt back to being fur-side out and roll them up into a small ball, while the beavers you will just fold skin-on-skin for storage.

Salted hides placed in a bucket to sit for 24 hours.

Once salted, you will store them for 24 hours before revisiting them the next day to scrape off the old salt and repeat the process one more time. We will pick up at that point in 48 hours to continue this series.